Template Assignment
Template Assignment allows users to enable monitoring and notification templates to selected nodes. This ensures that each node is monitored according to predefined thresholds and alerting rules, enabling proactive management and timely notifications.
The steps for configuring the Template assignment are outlined as follows:
- On the nodes screen, check the desired node(s) and click "Manage."
Figure 1. Figure - Nodes Manage 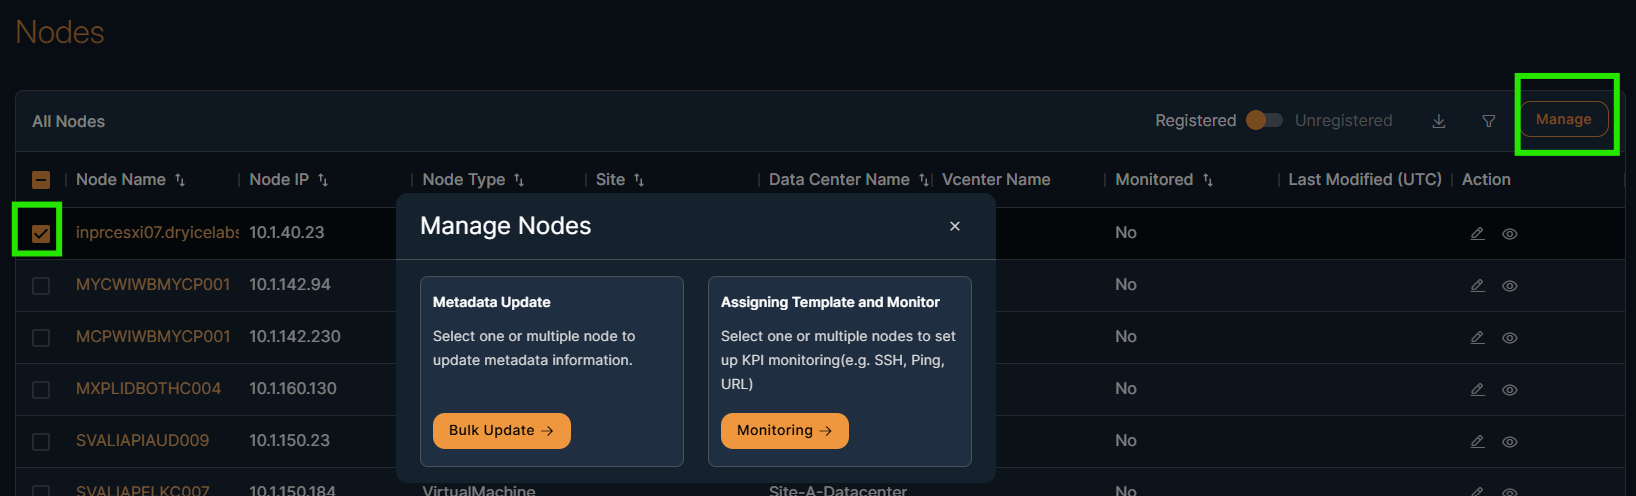
- Click on the Assigning Template and Monitor option
Figure 2. Figure - Nodes Manage (cont.) 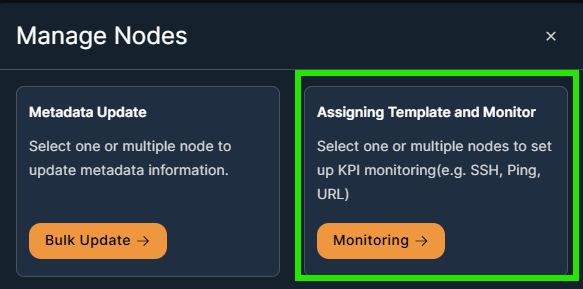
- Select templates
- Templated threshold
- Notifications threshold
- KPI template is optional.
- (optional) Select the add/remove nodes before assigning the template
- Click submit
You will be redirected to the nodes table screen.
Figure 3. Figure - Template Assignment 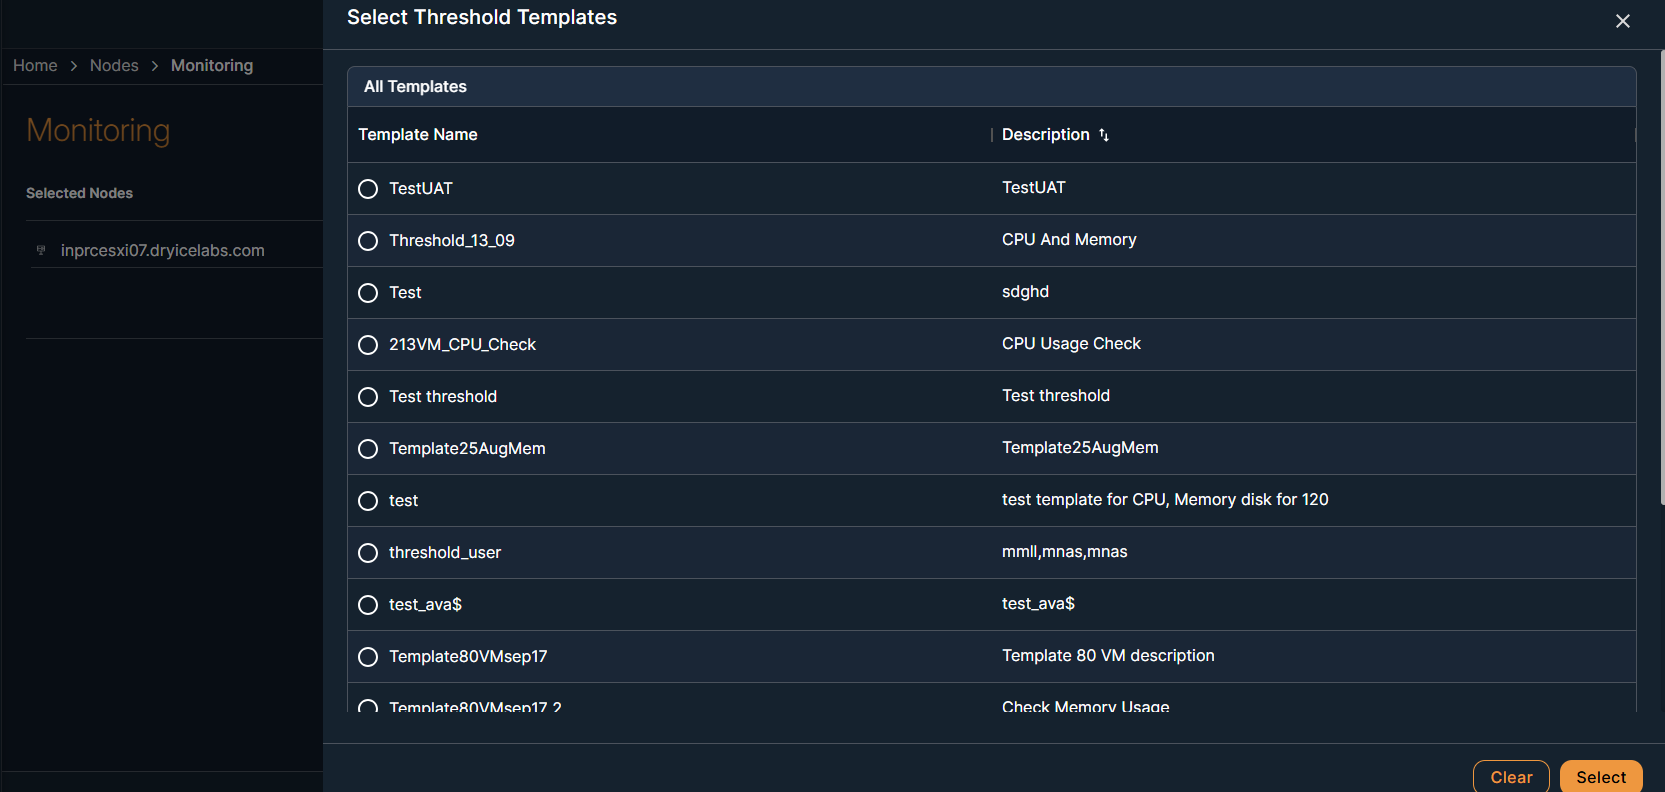
Once a template is assigned to a node(s), the "Monitored Status" in the nodes table will change from “No” to “Yes”
Note:To schedule the Maintenance, please refer to the Maintenance window sectionFigure 4. Figure - Monitoring status change after Template Assignment 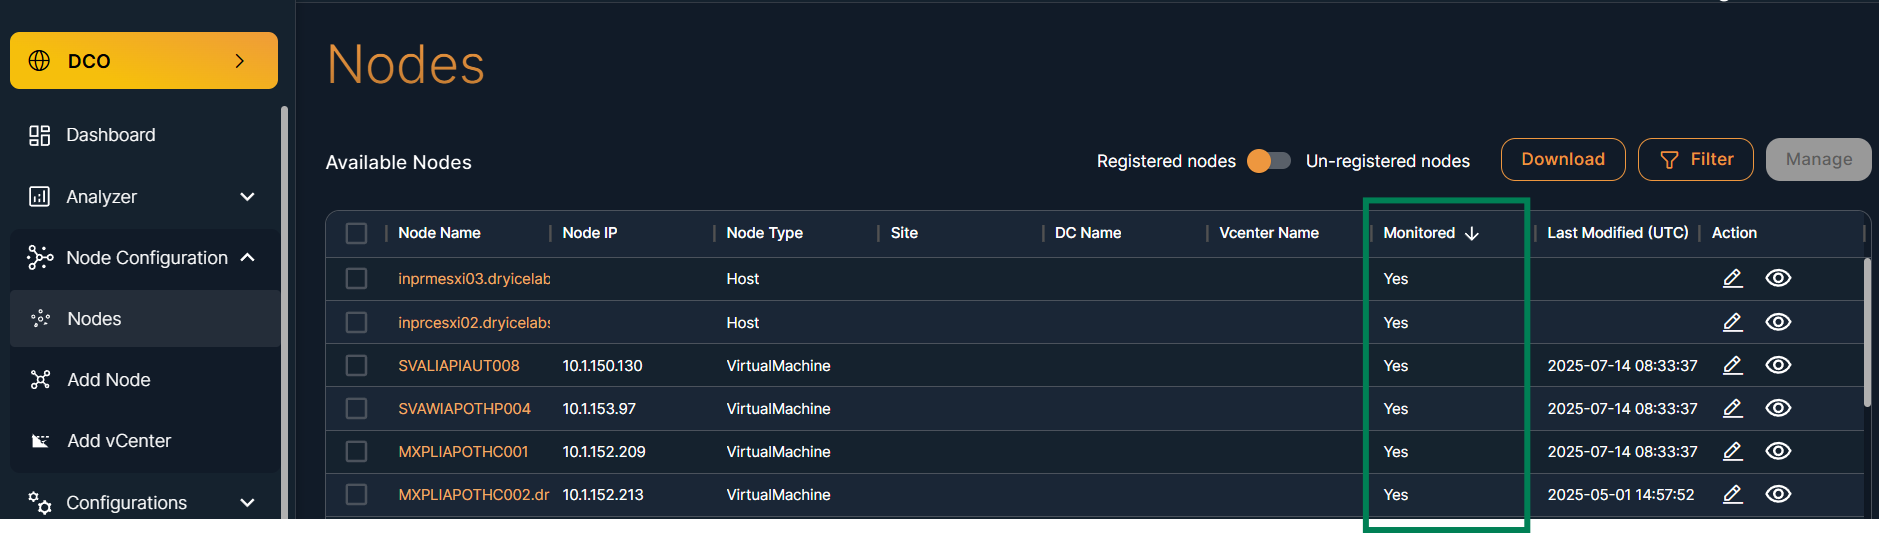
After assigning the templates, alerts generation will start automatically when the specified conditions are breached. These alerts are displayed in the alerts view screen.
Figure 5. Figure - Alert View after condition breached 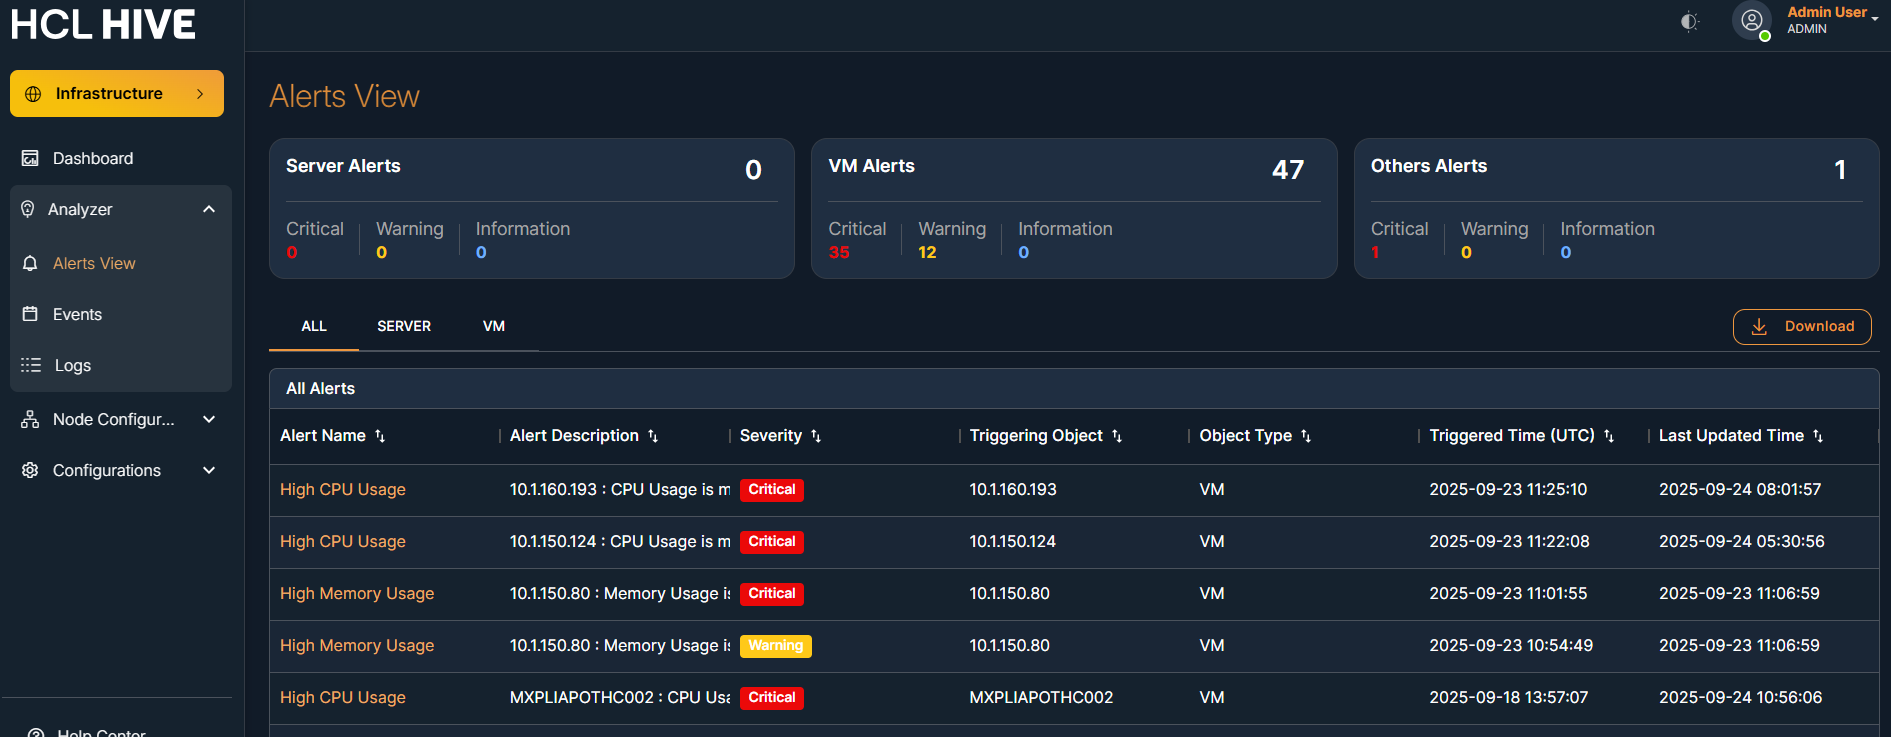
This ensures that users are promptly notified of the issues, allowing for quick response and resolution.
For more detailed information of Alert view , please refer to the Analyzer section
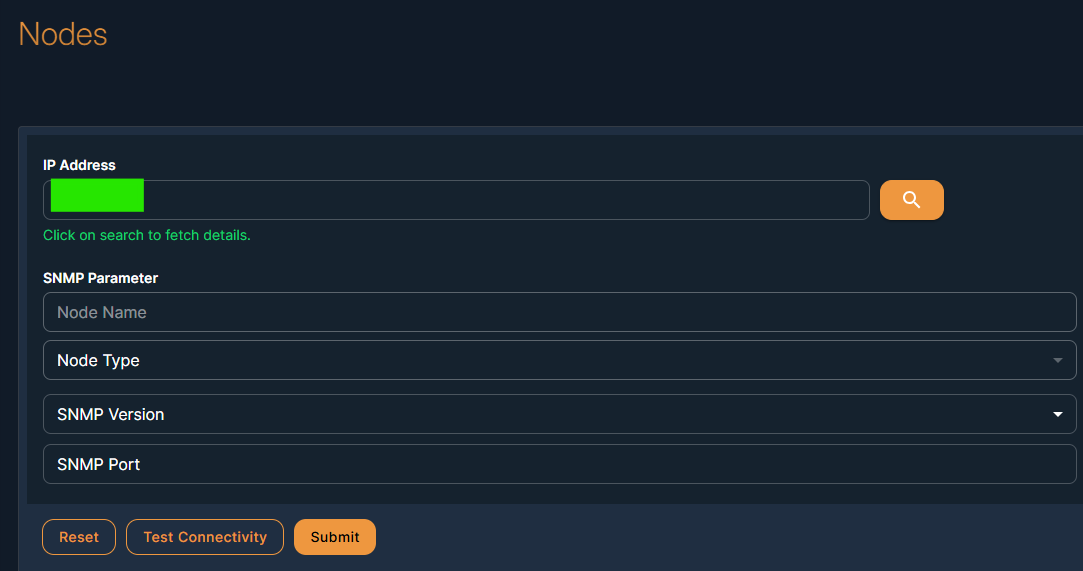
On the Nodes screen, you can view or edit option to view and update the node(s) details
From the view option, you can verify that the correct node details the intended node(s).
Figure 6. Figure - Nodes Overview 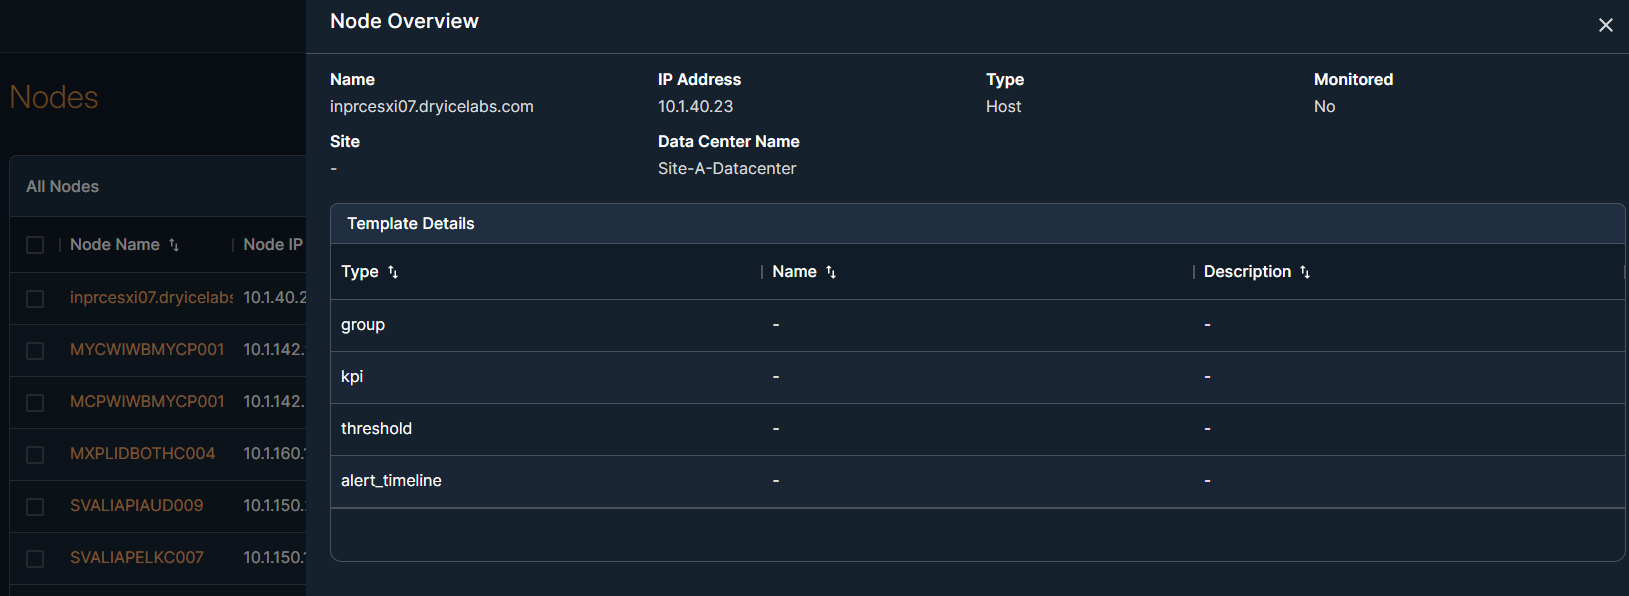
Steps to edit a node:
- Click the edit button.
- Update the input parameter(s).
- Click the submit button.
Figure 7. Figure - Nodes Edit