Object Groups
Object Group Management allows administrators to organize nodes and assign user groups and roles for streamlined access control. This process ensures that only authorized users can view or manage specific nodes within an object group. The following steps guide new members through creating and managing object groups in the application.
Steps for Object Group Management
- Access the Object Group Tab
- Navigate to the Node Configuration section.
- Click on the Object Group tab.
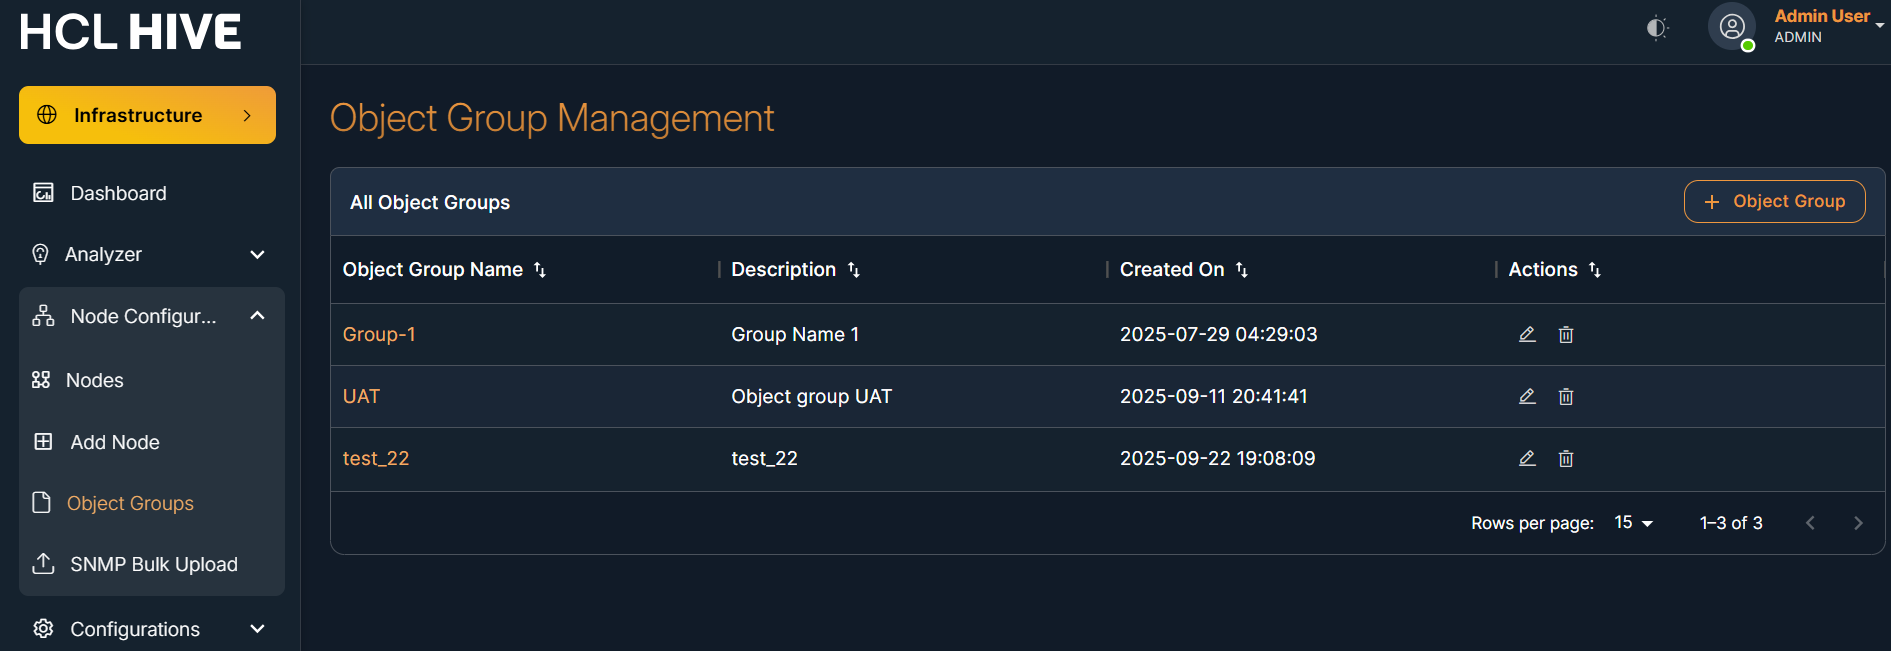
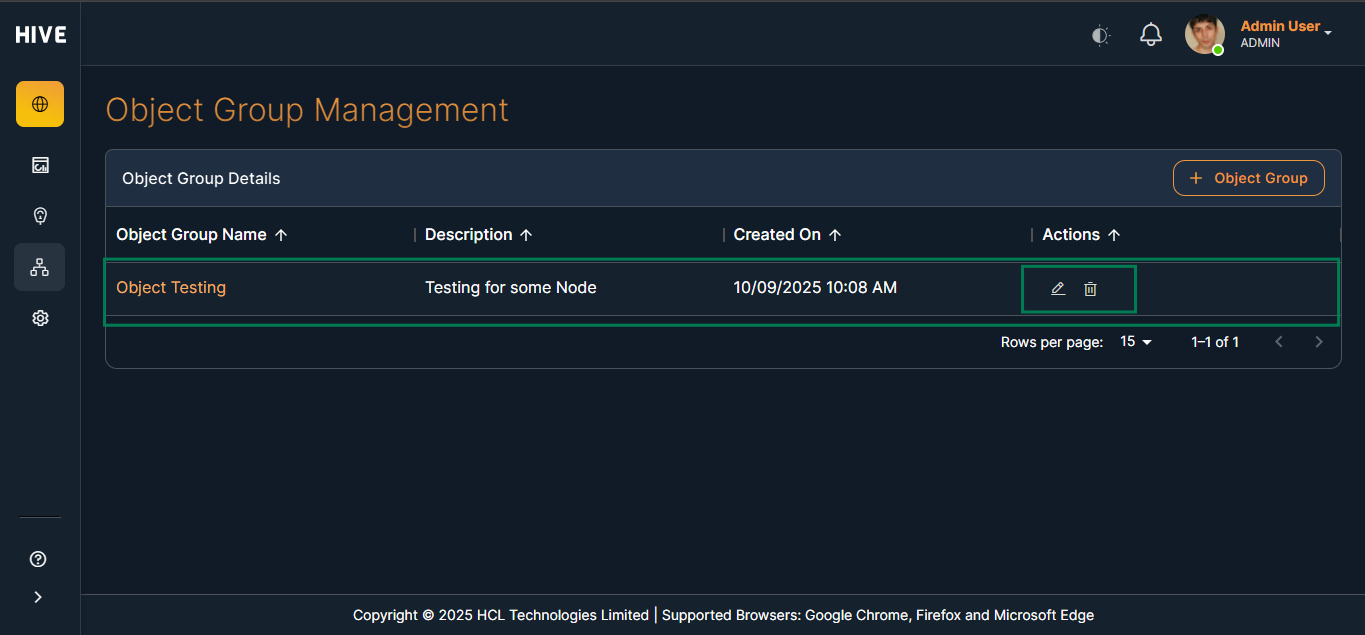
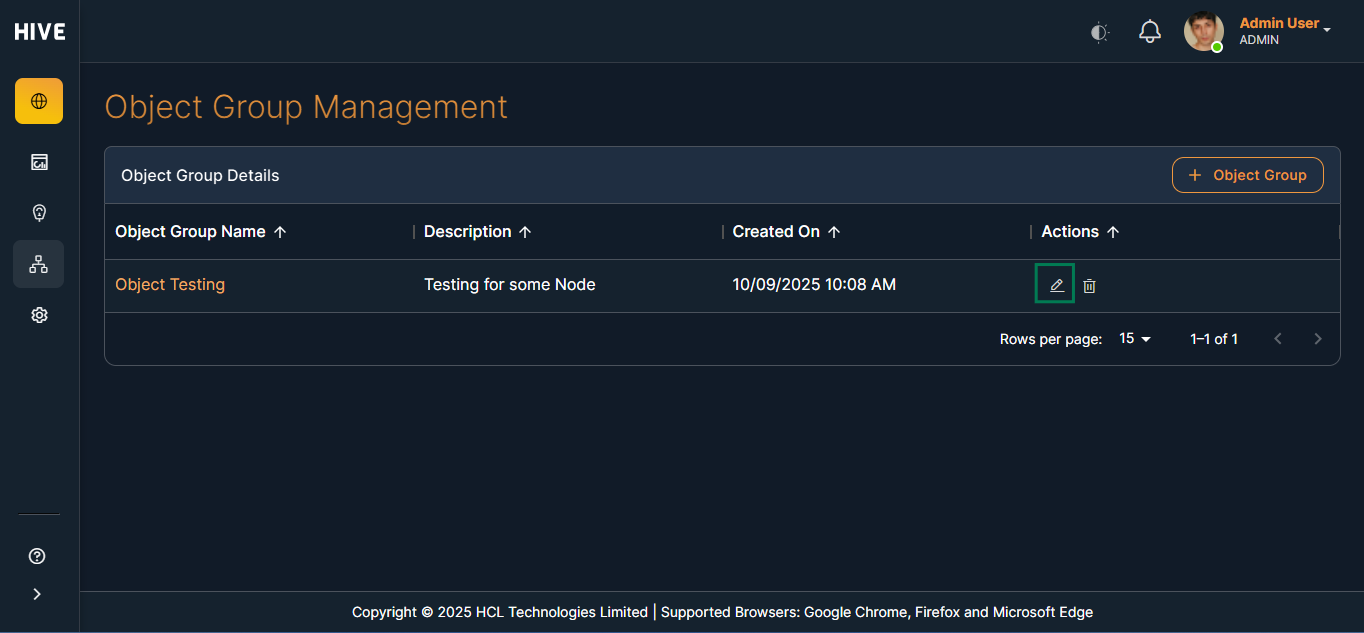
- View Existing Object Groups
- The Object Group Details table displays all existing object groups.
- Each entry includes Edit and Delete buttons for managing object groups.
- Add a New Object Group
- Click the Add Object Group button to start creating a new group.
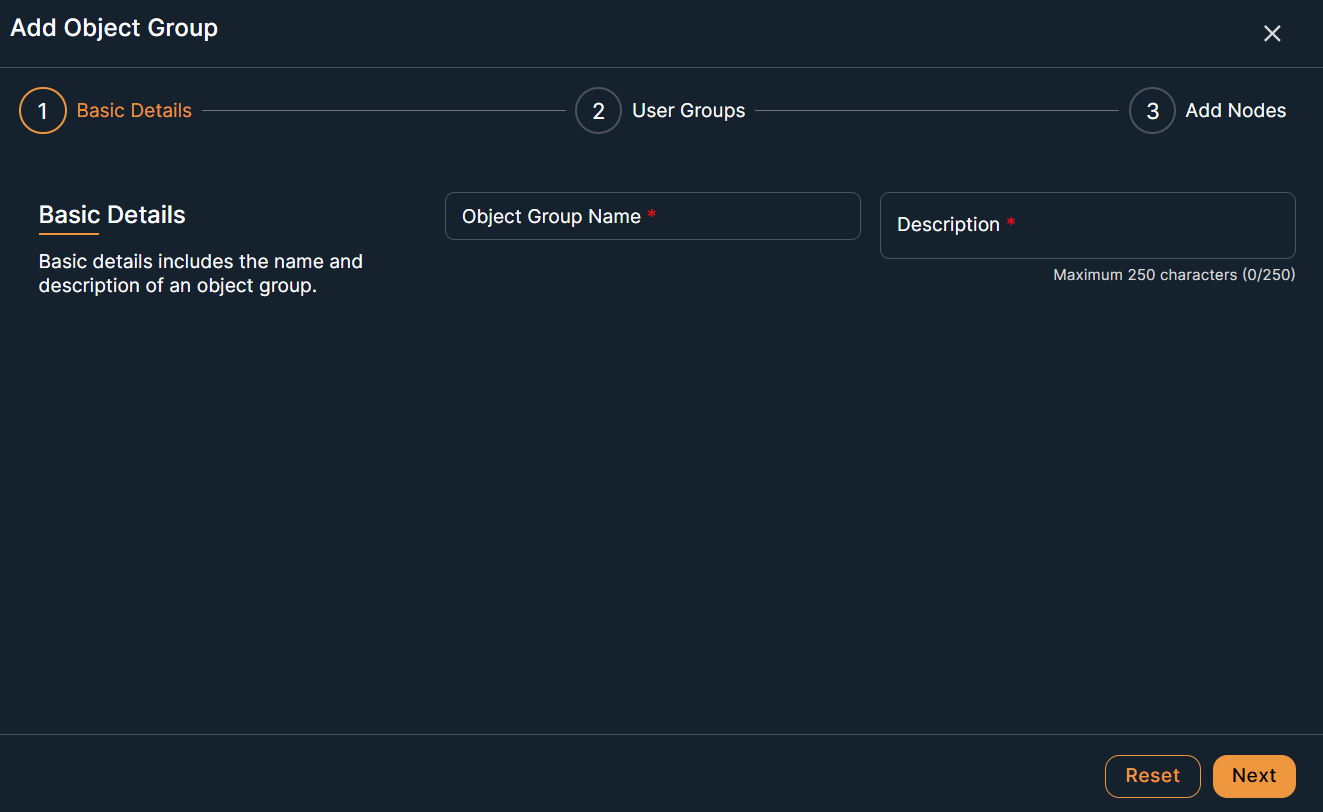
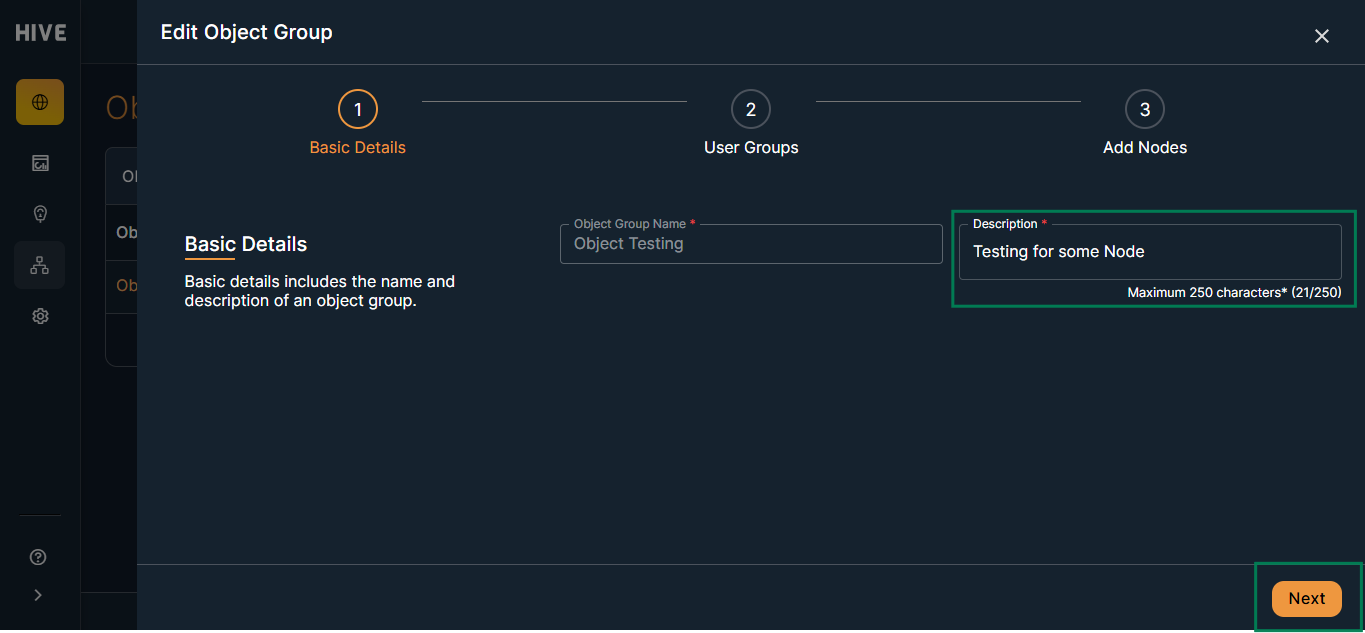
- Enter Basic Details
- Fill in the mandatory fields:
- Object Group Name
- Description
- The screen includes Reset and Next buttons.
- After entering the details, click Next to proceed.
- Fill in the mandatory fields:
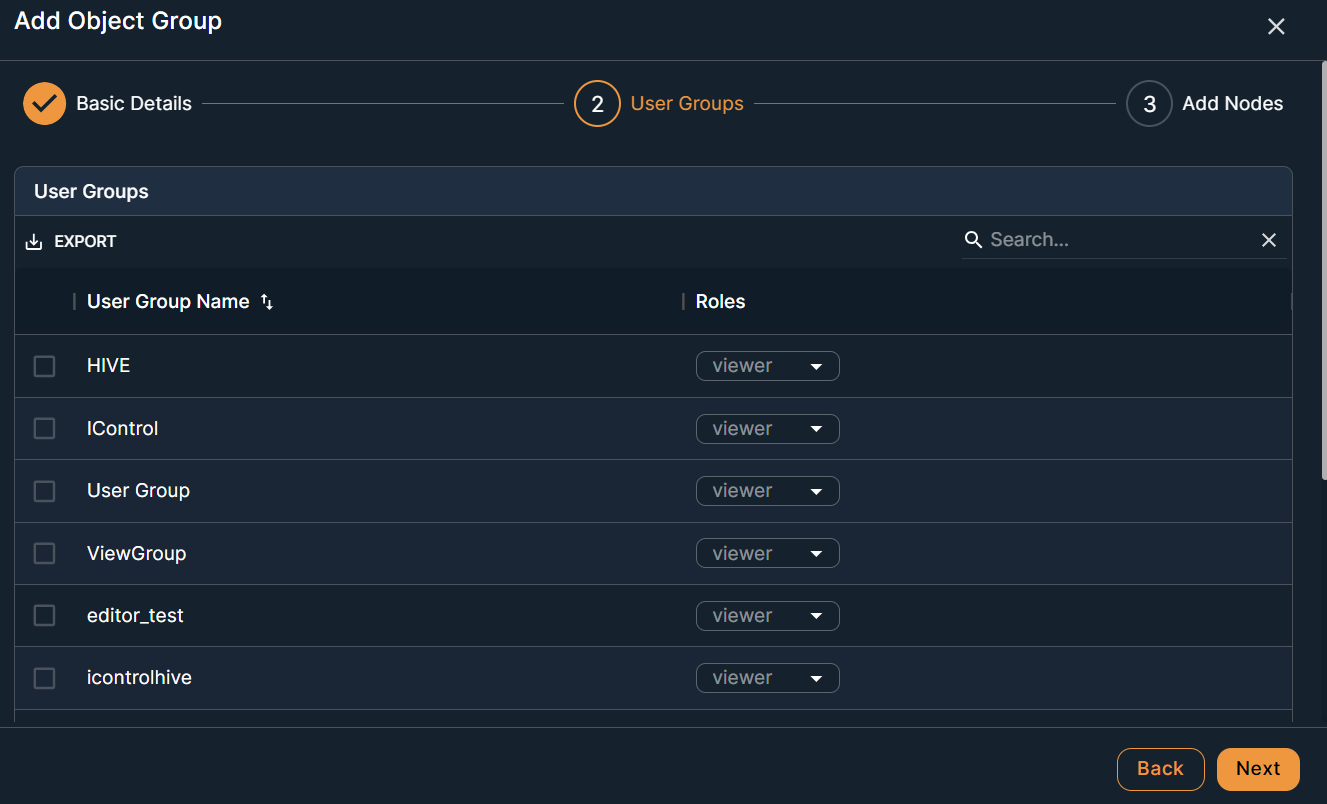
- Select User Groups (Optional)
- On the next screen, you can select user groups to associate with the object group (optional).
- The user group table includes:
- Checkboxes for selection
- Export button to download the table
- Filter option to search/filter user groups
- Select the desired user groups using the checkboxes.
- Choose a role for each selected user group from the dropdown (e.g., Viewer, Owner, User).
- Use Back to return to the previous screen or Next to continue.
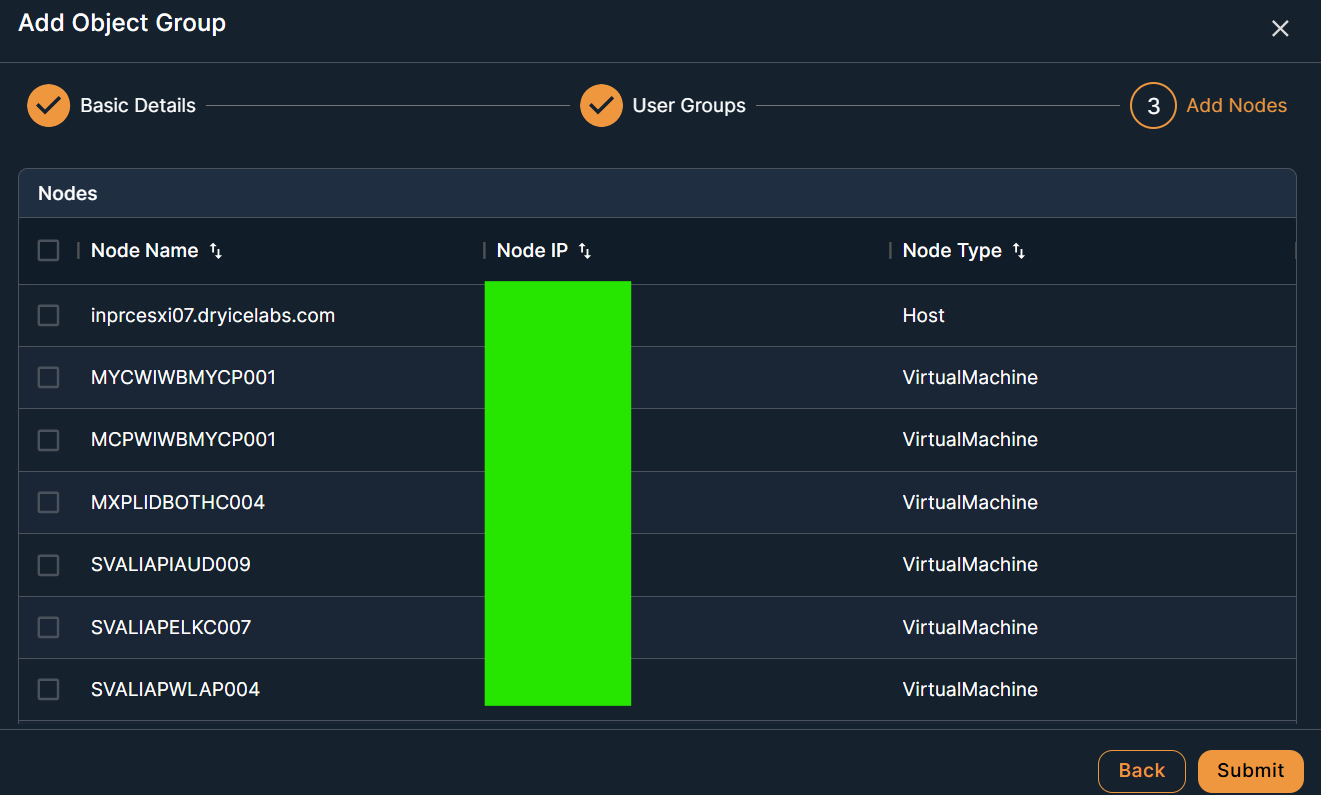
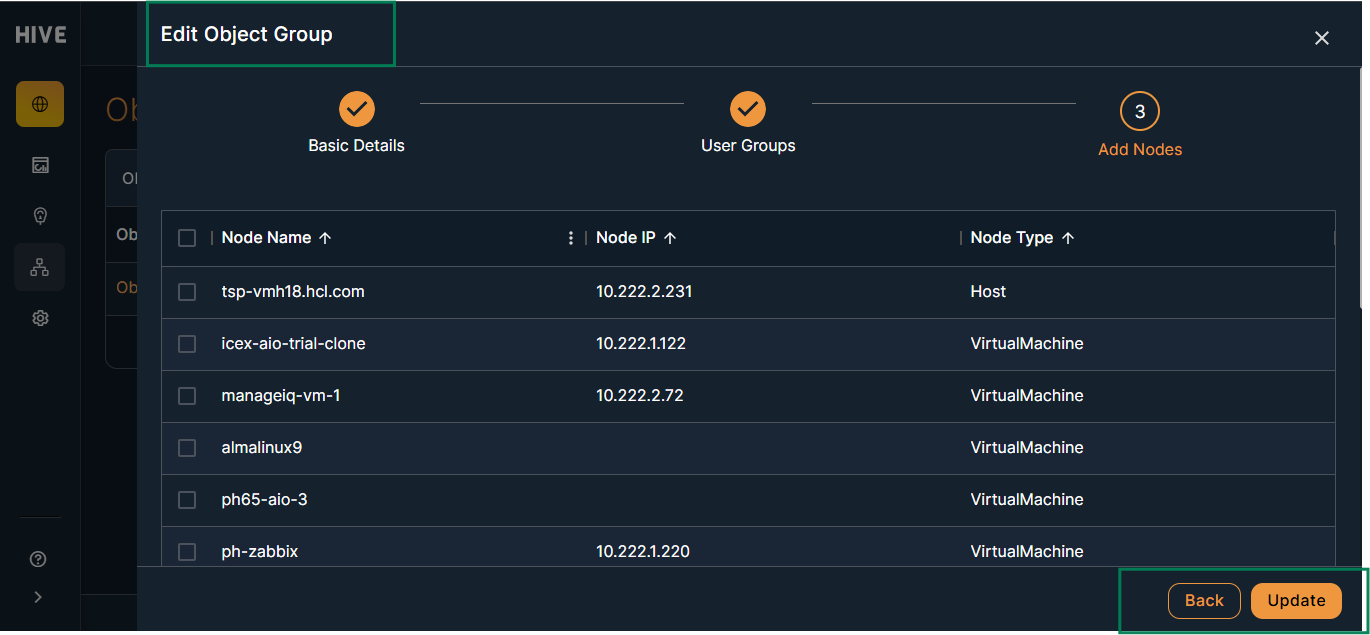
- Select Nodes (Optional)
- The next screen lists all available nodes in a table format.
- Select nodes to grant access for the object group or role using the checkboxes.
- This step is optional; you may skip if no nodes need to be assigned.
- Confirmation
- After submitting, the new object group will appear in the Object Group Details table.
- You can now manage the group using the Edit and Delete options.
- Editing an Object Group
- In the Object Group Details table, locate the object group you want to modify.
- Click the Edit button next to the desired object group.
- The object group details screen will open, displaying the current information.
- Update the required fields such as Object Group Name or Description.
- You can also modify user group assignments, roles, and node selections as needed.
- After making changes, click Submit to save the updates.
- The table will refresh to show the updated object group details.
- Deleting an Object Group
- In the Object Group Details table, find the object group you want to remove.
- Click the Delete button next to the object group.
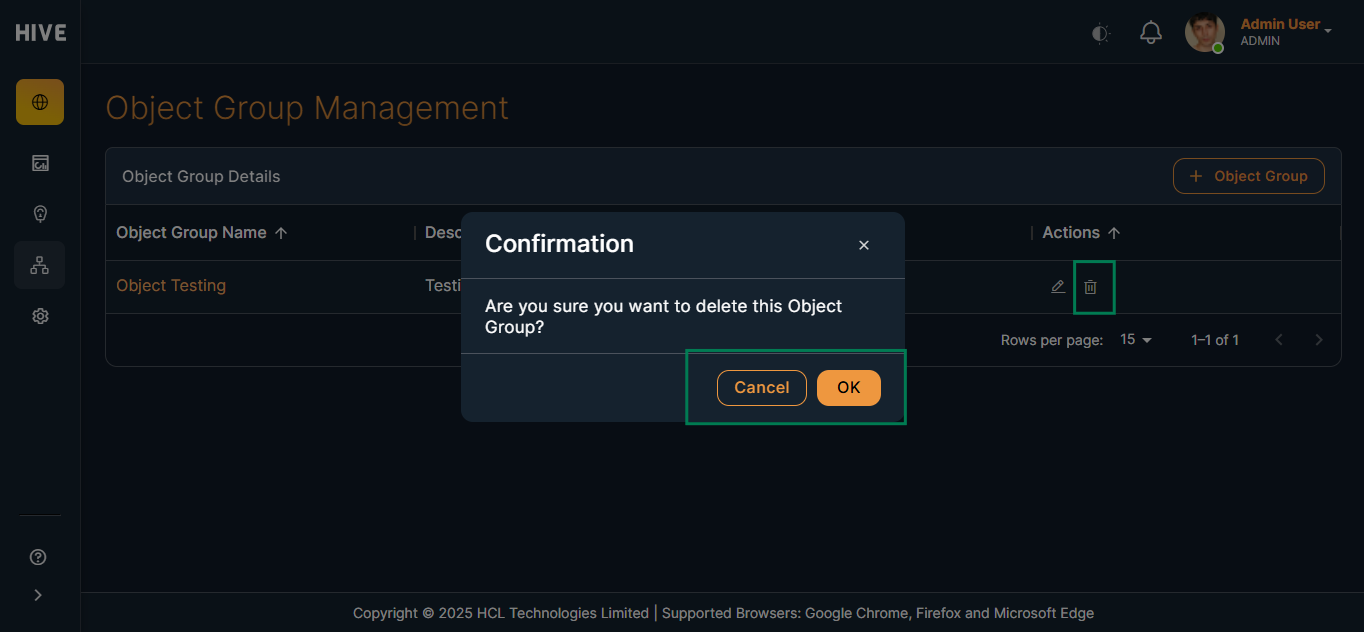
- A confirmation dialog will appear to prevent accidental deletion.
- Confirm the deletion by clicking Yes or Confirm.
- The object group will be removed from the table.