Incident Configuration
Incident Configuration is used to define a logical grouping of related detection rules that collectively represent a specific problem or anomaly in the system (e.g., disk space full, service down).
Navigation: Infrastructure → Configurations → Incident Configuration
Purpose: To define incident correlation logic by grouping multiple matching detection rules into a single incident trigger, with a specific timing window, root cause, and resolution. It allows automated incident generation and optional ticket creation.
On the same screen, you will see the newly created detector .
And in the table, you can perform the action “Add” or "Edit" or “Delete” or “view” incident
Also, User can do Pause or Play any configuration

Steps to Add Incident Configuration:
- Click + Incident Configuration
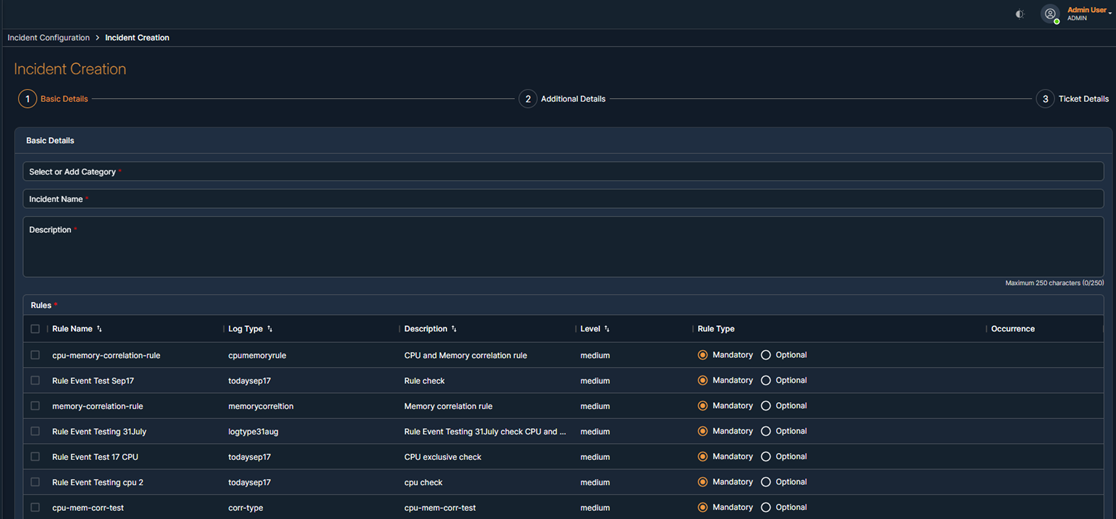
- Basic Details:
- Incident Name: Give a unique name (e.g., "disk space full").
- Description: Short description for this incident logic.
- Category: Select or enter category (e.g., internal).
- Rule Selection:
- Select one or more detection rules related to this incident.
- Set each rule as Mandatory or Optional.
- You must have at least one Mandatory Rule.
- Selected rules will be listed below.
- Timing Window:
- Define the Time Interval in minutes for matching all selected rules (e.g., 60 mins).
- Only if the rules occur within this window, the incident is triggered.
- Group By (Optional):
- Group incidents by parameters like:
- Alarm_source
- Severity
- Possible Root Cause (Optional):
- Define the known root cause for the incident.
Example: Disk space full
- Define the known root cause for the incident.
- Possible Resolutions (Optional):
- Suggested resolution steps for the incident.
Example: Clear unused files from the VM
- Suggested resolution steps for the incident.
- Basic Details:
Optional Tabs (Advanced Use):
- Filter incident logic further using the selected rules.
- Apply grouping here too (alarm_source, severity).
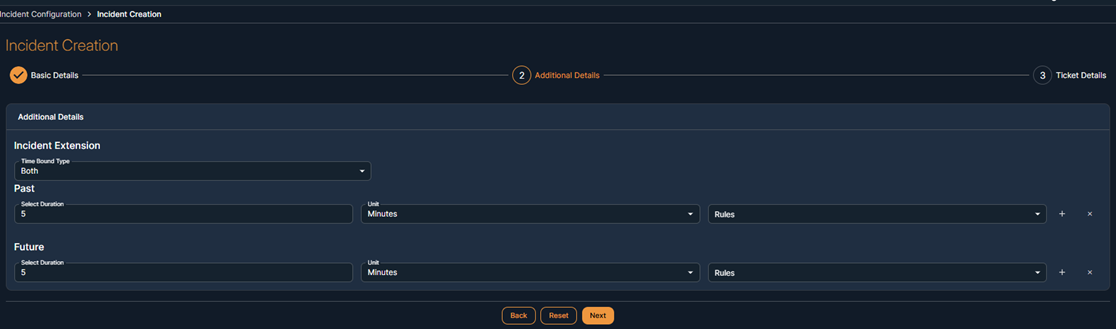
- Additional Details:
- Choose Time Bound Type:
- Past / Future / Both
- Specify rules to match duration for each direction.
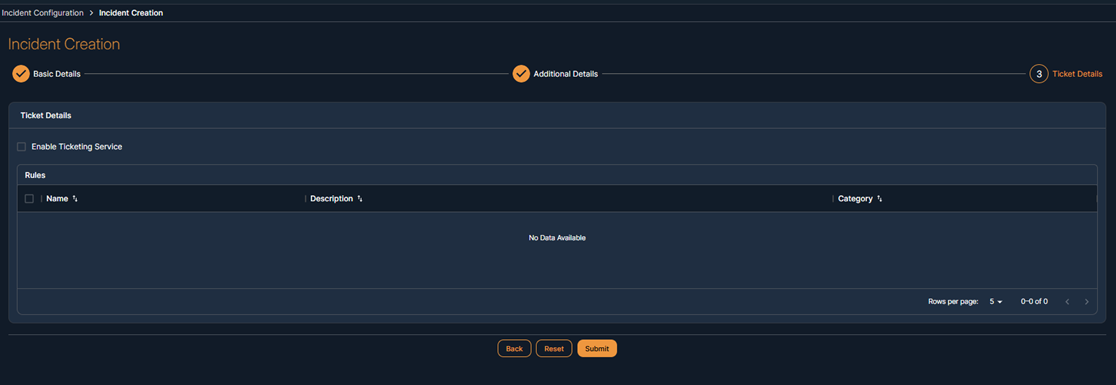
- Enable Ticketing Service: Tick the checkbox.
- Choose platform: ServiceExchange
- Select appropriate ticketing Category (e.g., Storage, Network, Unix, etc.)
Final Actions:
- Use Back, Reset, or Next to navigate.
- Click Save to save the new incident configuration.
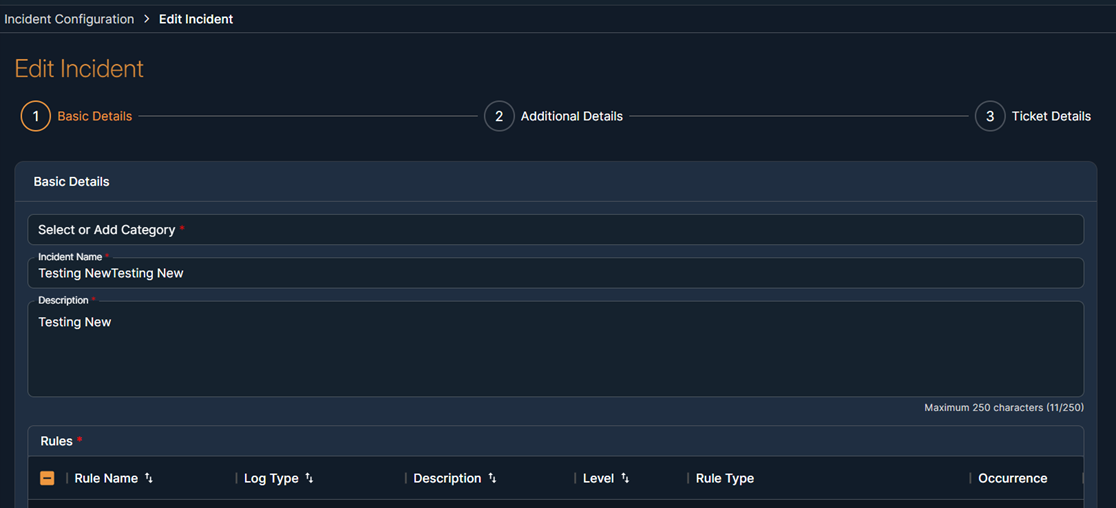
Steps to edit the Incident:
- Click on the edit button for an item
- Update the details
- Click on Update button
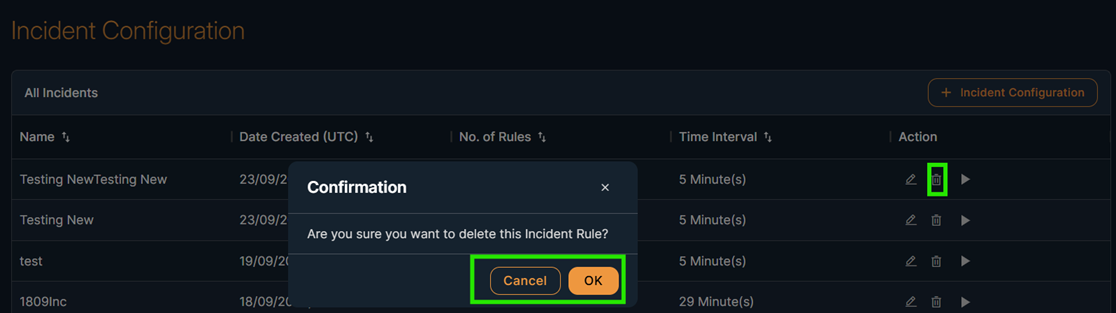
Steps to delete the incident:
- Click on delete icon
-
Click OK to confirm the message in the pop-up dialog box.
After play , the user can see the incident. If Paused then incident can be stopped

