Anomaly Management
The option allows administrators to define and manage rules for detecting unexpected cost patterns or unusual resource usage. This ensures that sudden spikes, deviations, or irregularities in cloud spending are identified early and notified to the right stakeholders.
Accessing Anomaly Configuration
From the FinOps Settings, click on Anomaly Management.
.png)
This opens the Anomaly List, where you can view, create, edit, and delete anomaly rules.
Anomaly List View
The Anomaly List displays all existing configurations with the following details:
-
Anomaly Name – Identifier for the anomaly rule.
-
Description – Short explanation of the anomaly and its purpose.
-
Deviation – The threshold percentage deviation that will trigger the anomaly.
-
Look Back Period – Historical timeframe used to evaluate cost patterns (e.g., last week, last 2 months).
-
Scope Option – The scope of analysis, such as all services or specific services.
- Action – Options to edit or delete the anomaly configuration.
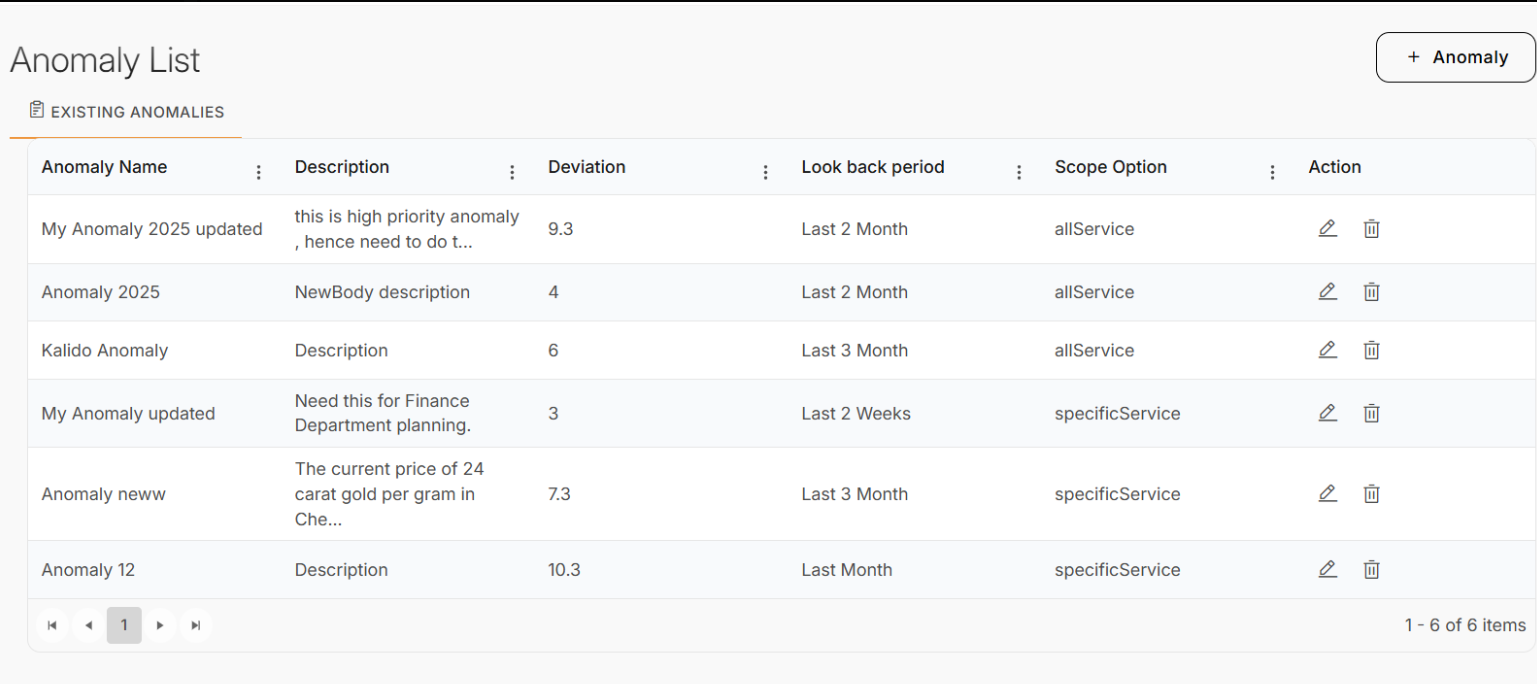
At the top right, click + Anomaly to add a new anomaly configuration.
Creating a New Anomaly
- Clicking + Anomaly opens the Anomaly Alerts configuration screen.
- Tabs are available for AWS, Azure, and GCP, enabling anomaly settings to be defined per cloud provider
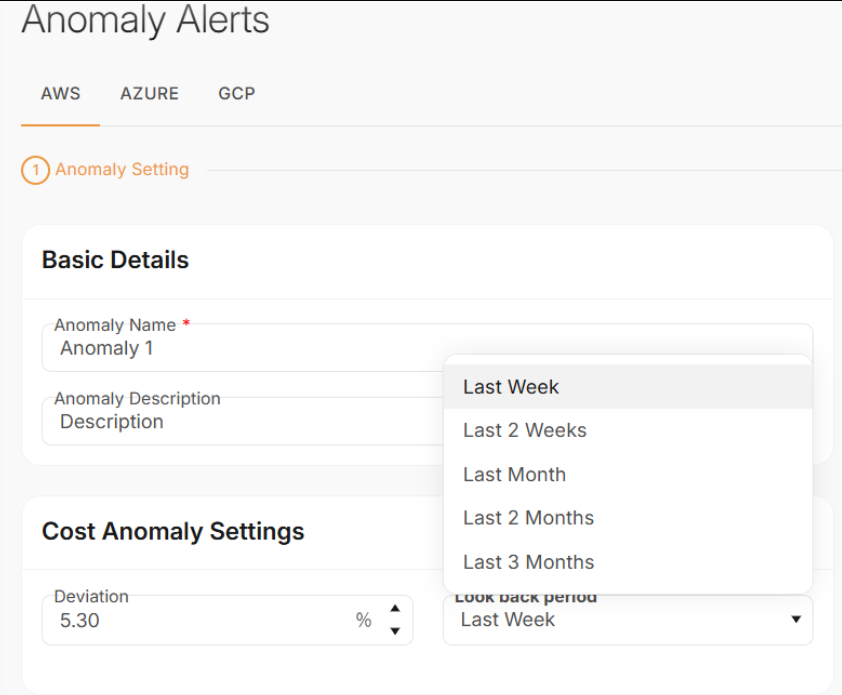
Step 1: Basic Details
-
Anomaly Name – Enter a unique identifier.
-
Anomaly Description – Provide a clear explanation of what this anomaly will monitor.
Step 2: Cost Anomaly Settings
-
Deviation (%) – Define the threshold percentage for cost deviation that will be considered abnormal.
- Look Back Period – Select a period (Last Week, Last 2 Weeks, Last Month, Last 2 Months, or Last 3 Months) for historical comparison.
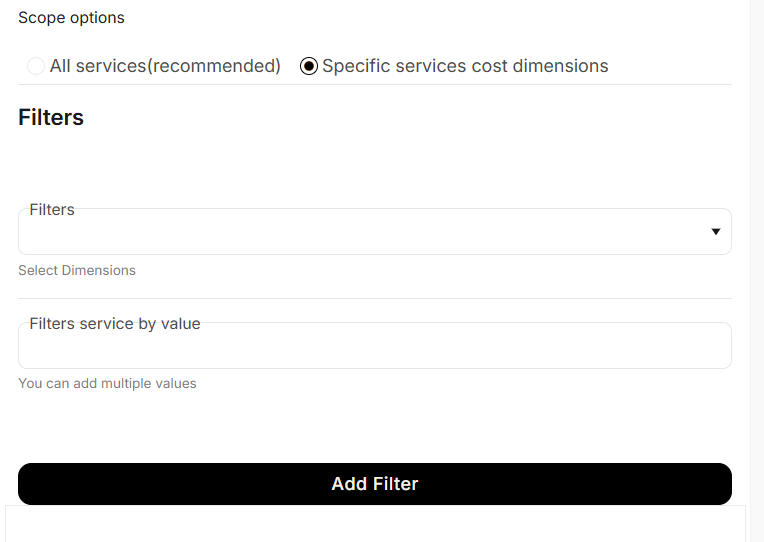
Step 3: Scope Anomaly
- Select whether the anomaly should cover All Services (recommended) or be restricted to Specific Services and Cost Dimensions (e.g., compute, storage, or network).
-
If selecting Specific Services, apply relevant filters for service-level granularity.
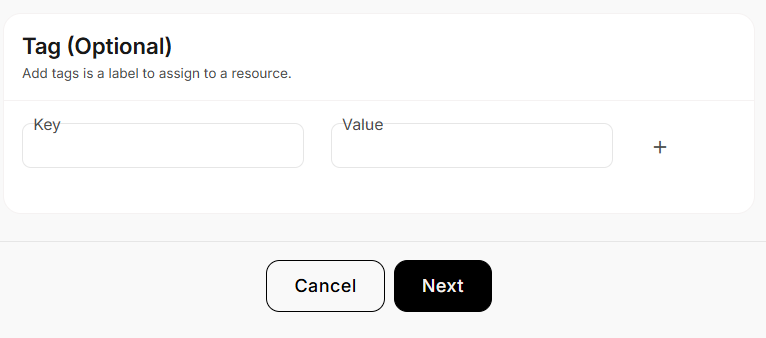
Step 4: Add Tags (Optional)
- Assign Tags (Key–Value pairs) to the anomaly rule for better organization and filtering.
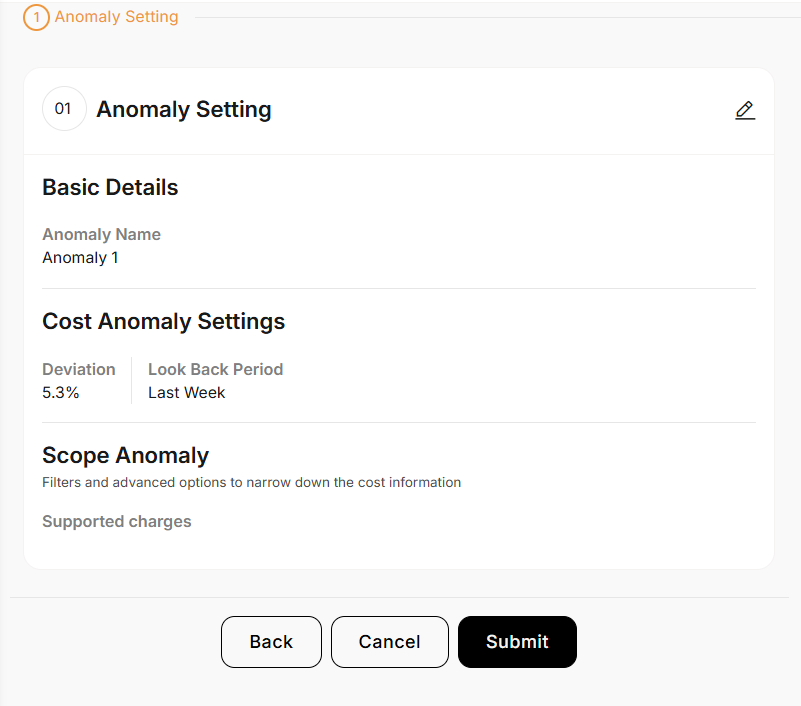
.Step 5: Review and Confirm
- Review all configurations. Use the edit option to edit a particular field.
- Once satisfied, click Submit to activate the anomaly detection rule.