The User Group section allows administrators to create groups of
users. User groups can be assigned specific roles, making it easier
to manage permissions for multiple users at once. This section
helps streamline user management and ensures consistent access
control across teams.
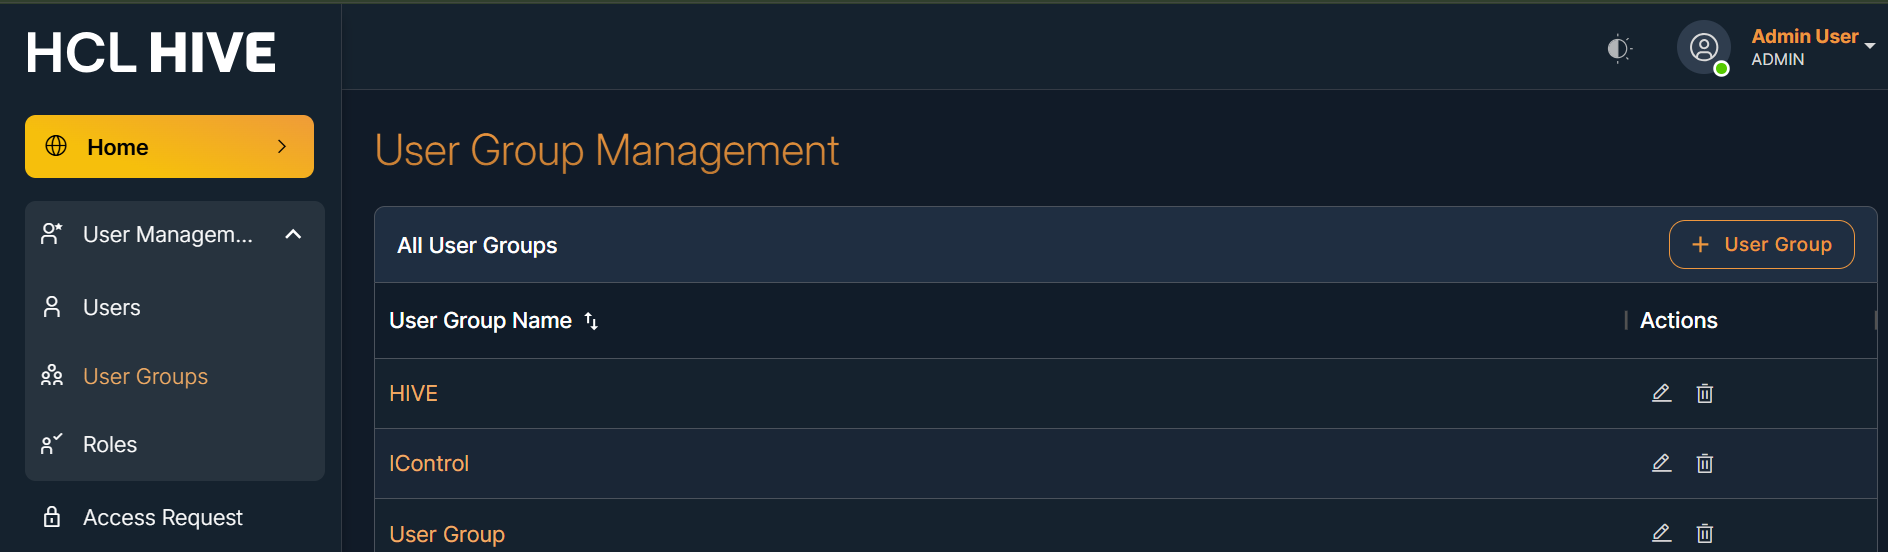
Navigation: User Management → User Group tab
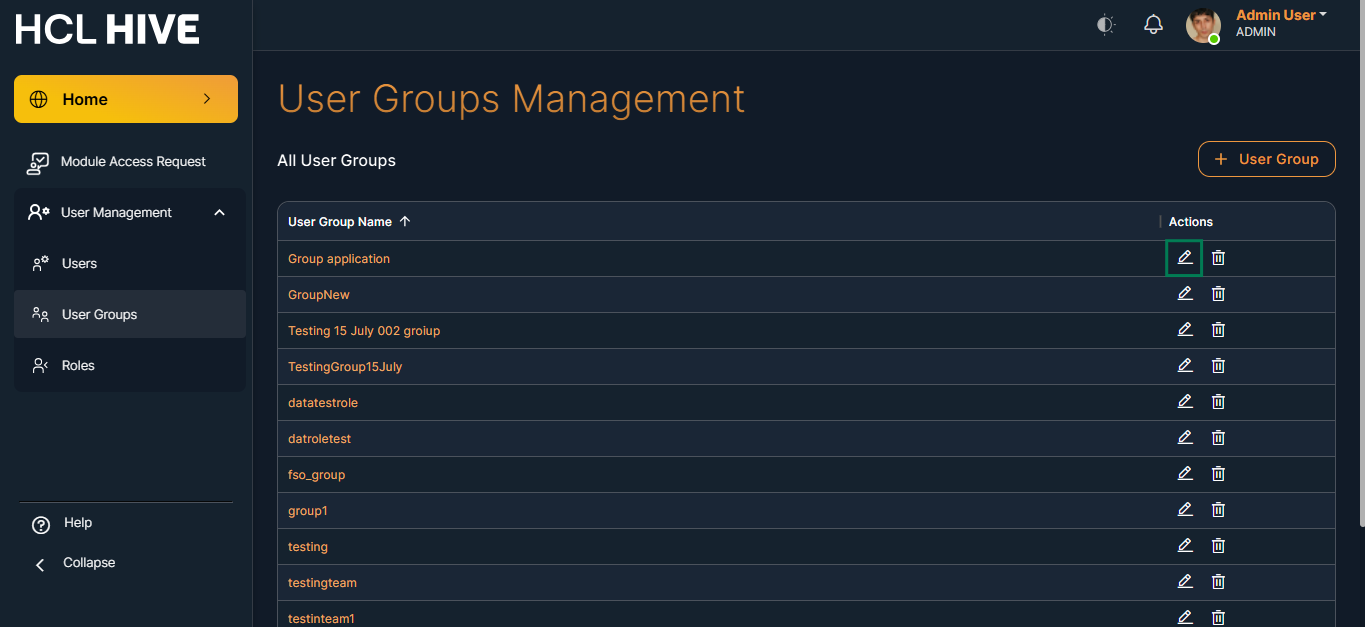
You will see the existing user groups.
Figure 1. Figure - User Group Management
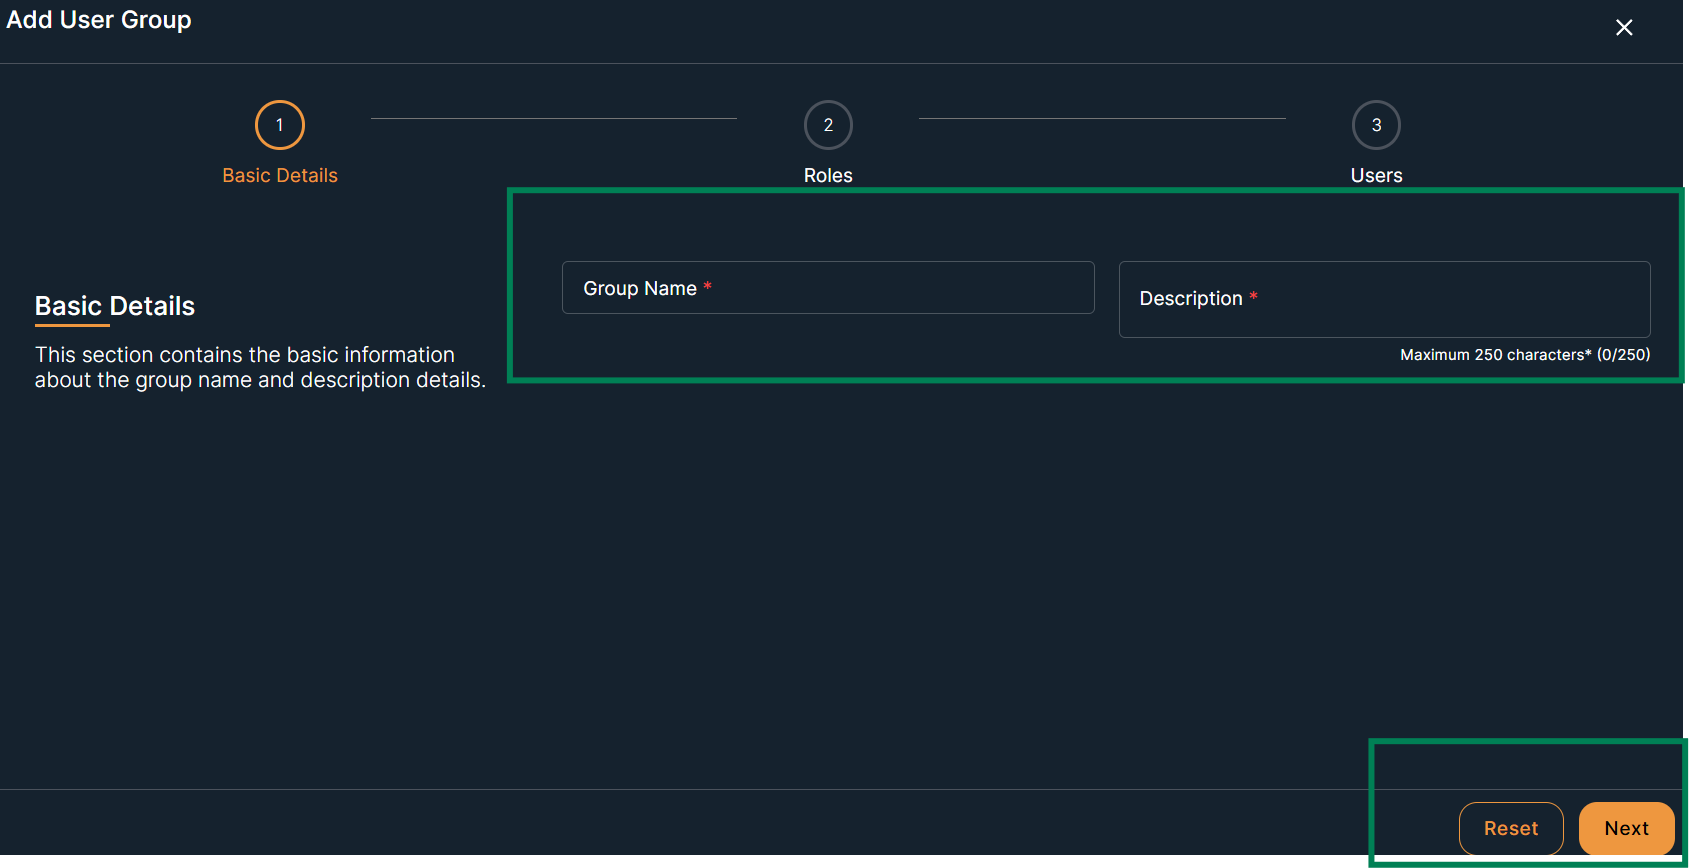
Steps to create the User Group :
Click on the + User Group button
Fill the Basic Details Group Details
Click the Next buttonFigure 2. Figure - Add User Group
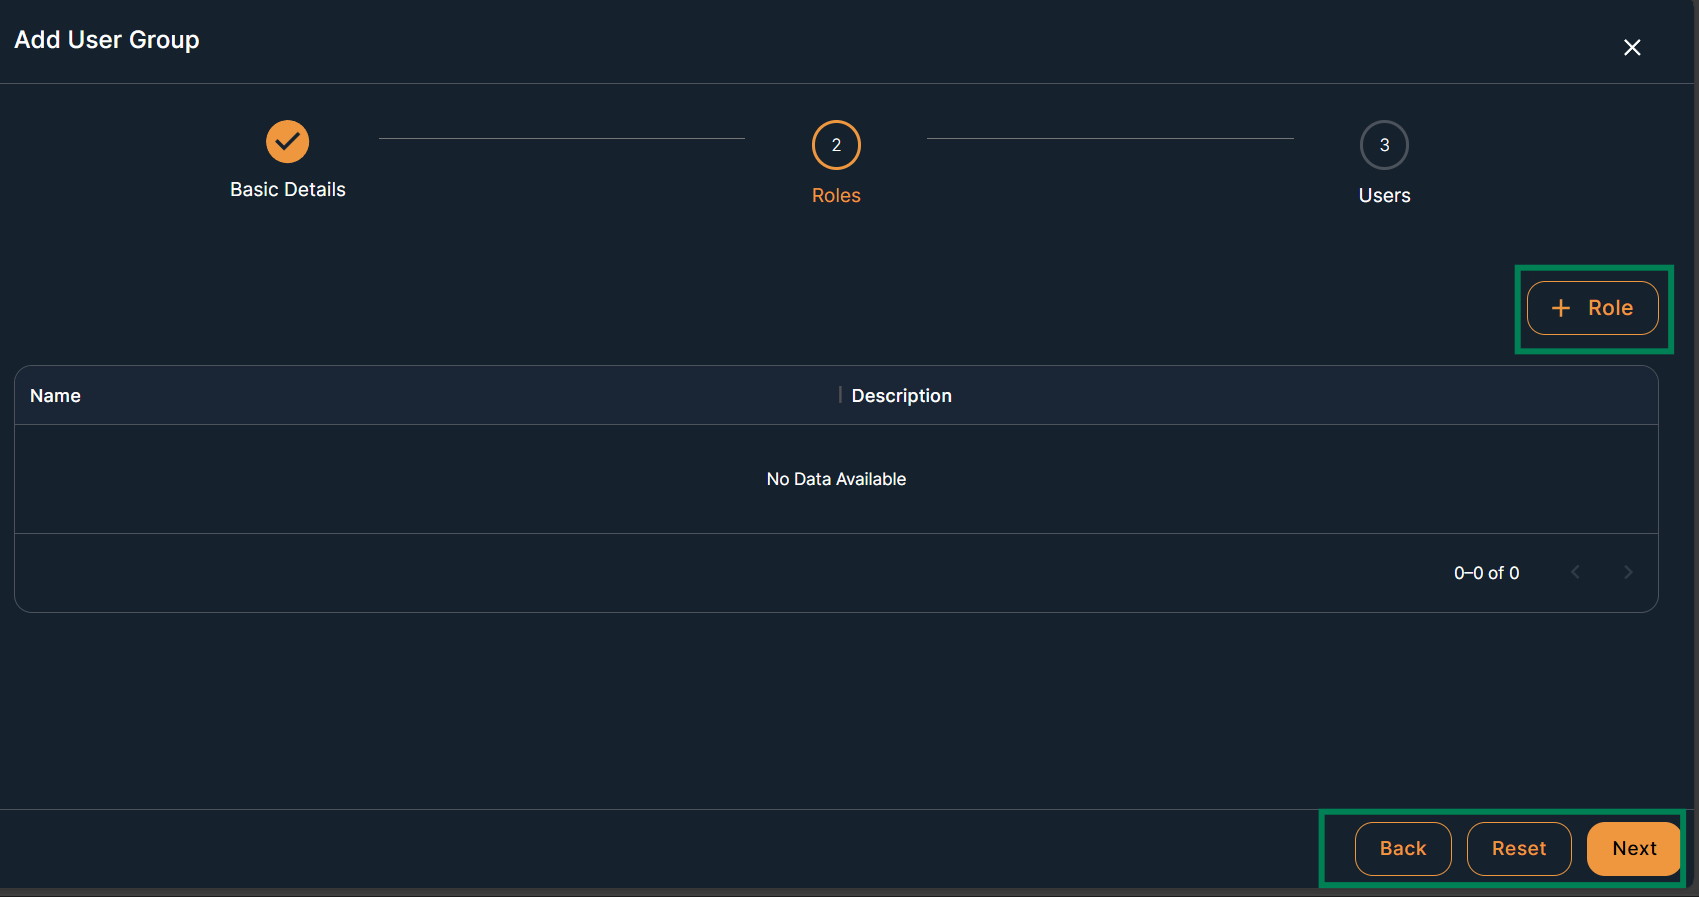
(Optional) Select a role for the group
Click "Next" againFigure 3. Figure - Add User Group (cont).
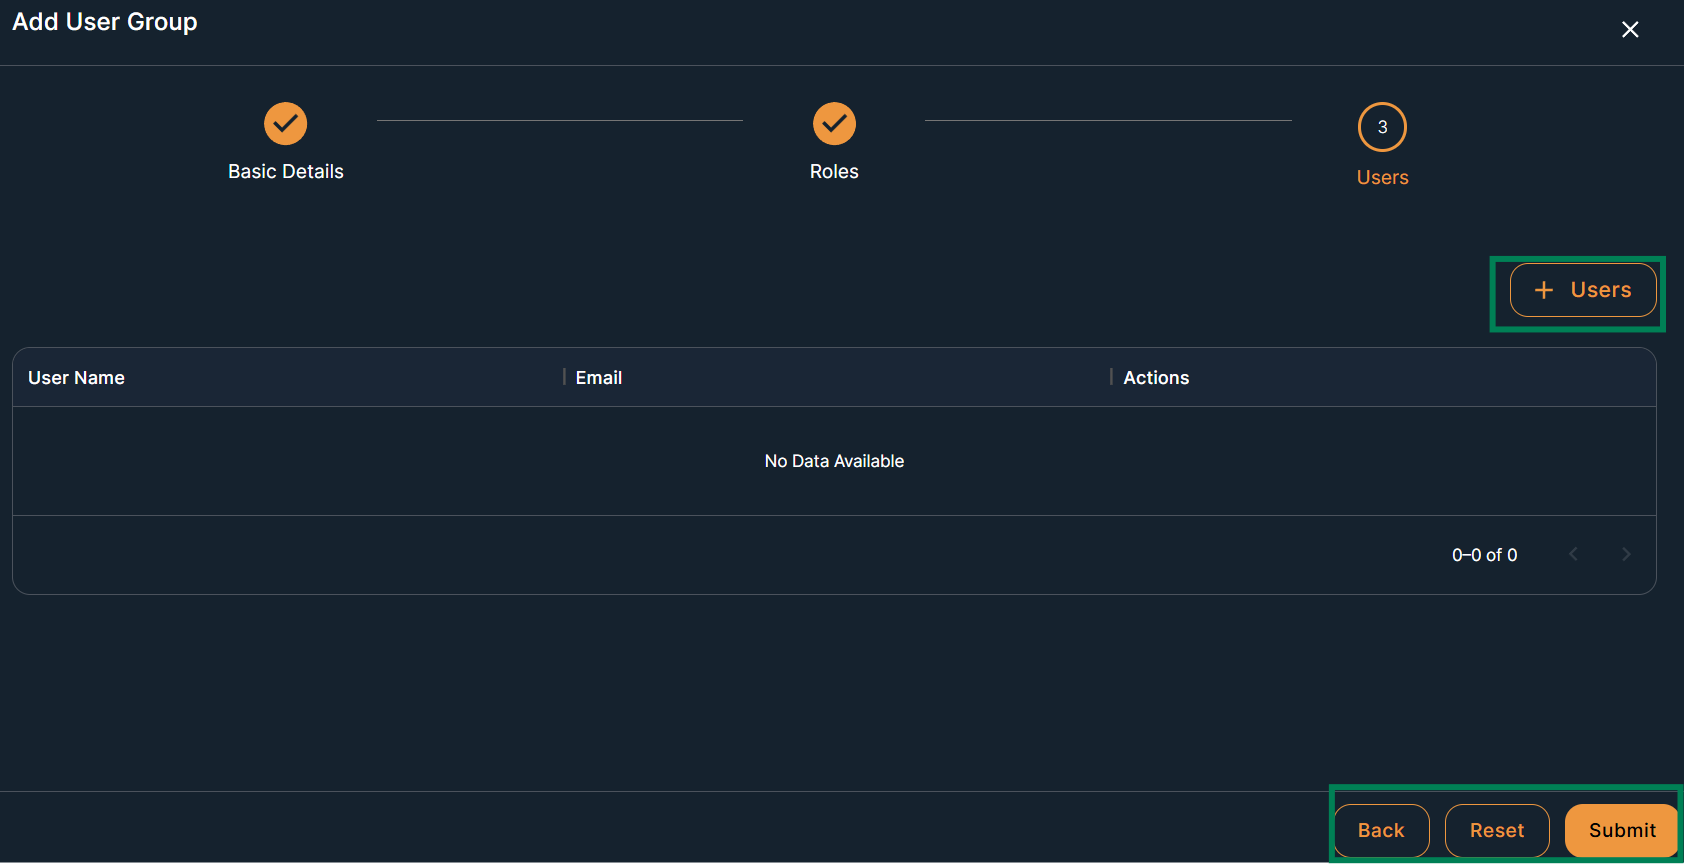
(Optional) -Select users to include in the group
Click on "Submit" buttonFigure 4. Figure - Add User Group (cont).
You will see the new group in the user group table.
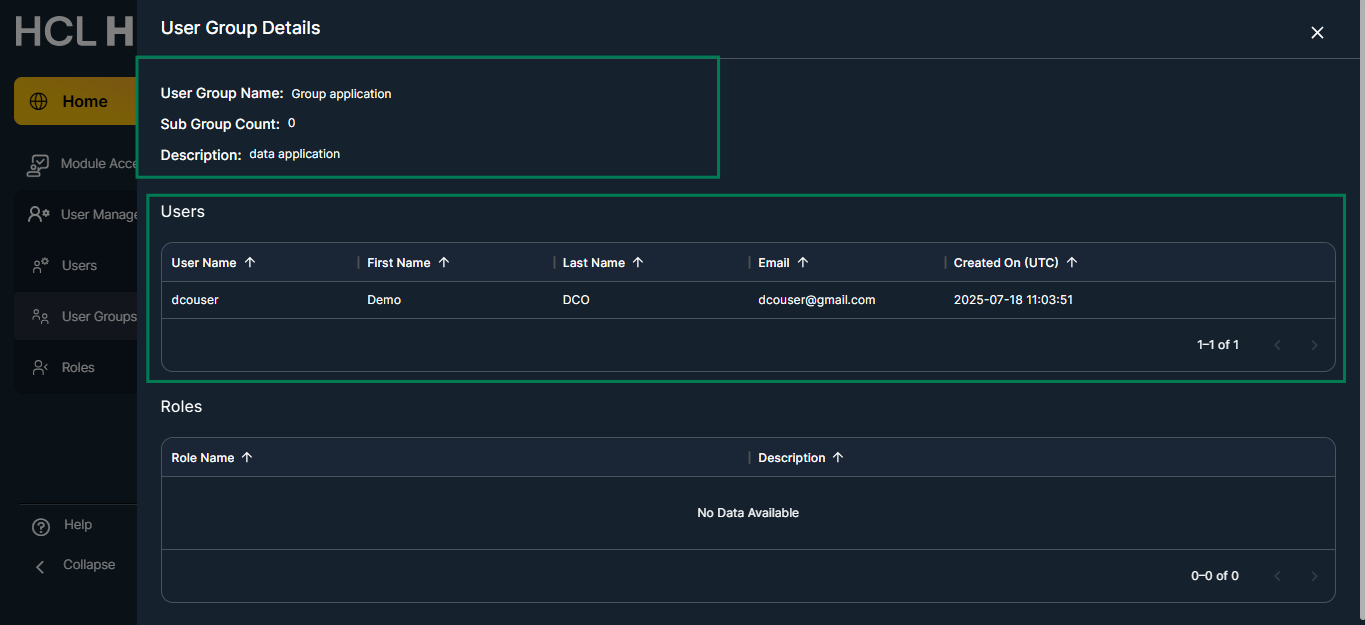
In the table, you can click "View" (the group name) to see all details about the
group.Figure 5. Figure - User Group Details
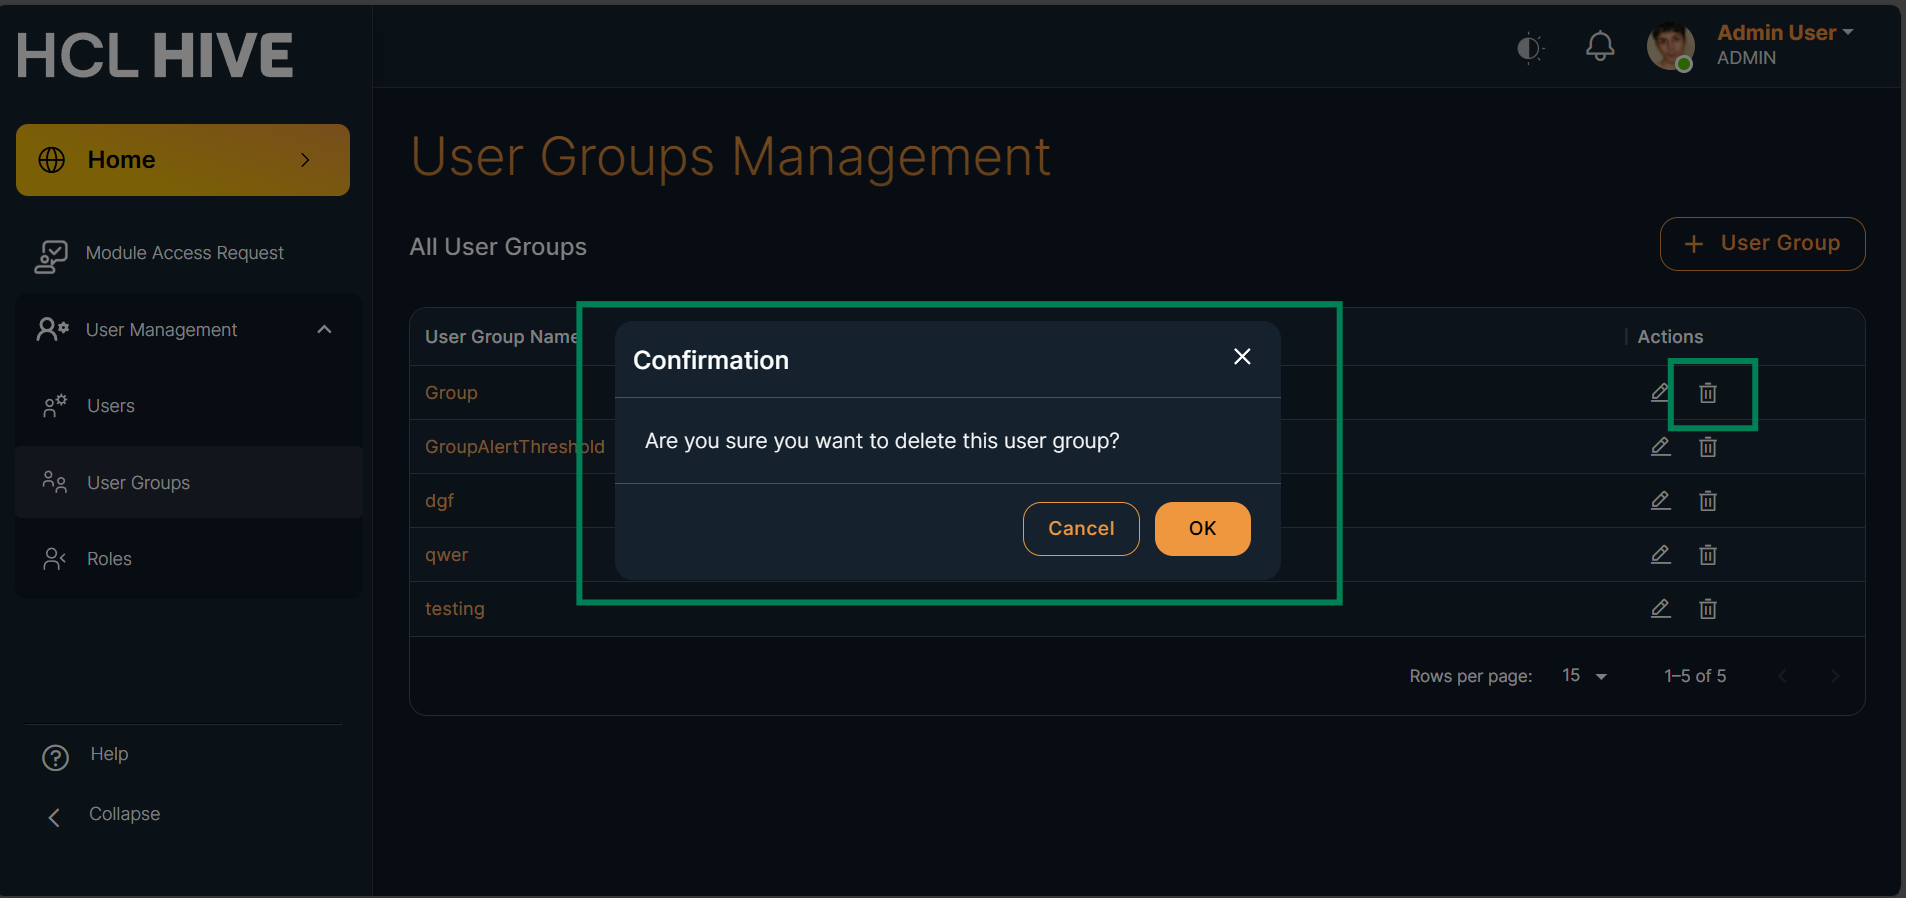
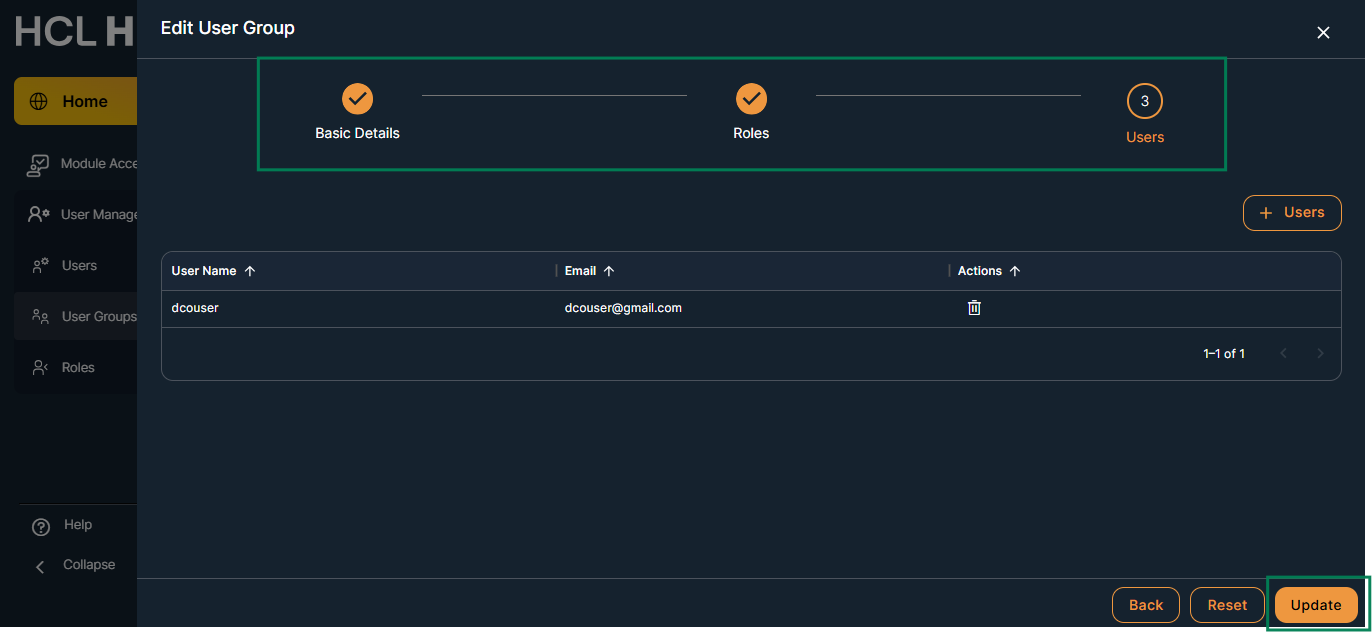
You can also use the "Edit" and "Delete" icons to update or
remove the group.
Figure 6. Figure - User Group DeleteFigure 7. Figure - User Group EditFigure 8. Figure - User Group Update
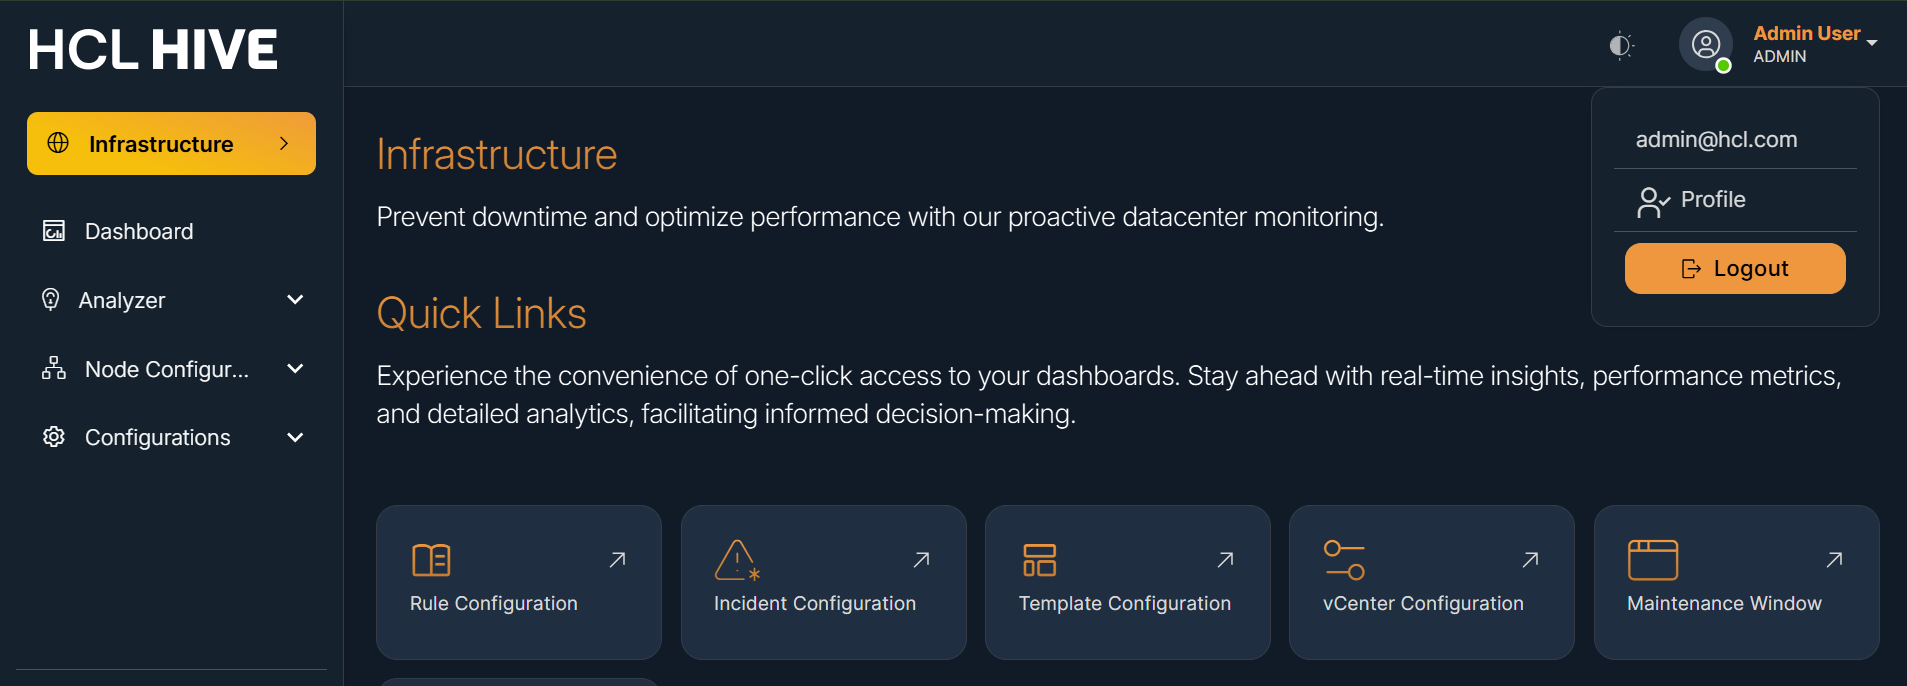
User is ready for Successful login in the application using created userFigure 9. Figure - Infrastructure Login screen