
|
|
|
|
|
|
|
Want to be a better CNC'er? Get our weekly newsletter plus a package of greatest hits, special tips, and more, all for free. I'm Ready to Be a Better CNC'er, Hook Me Up! |
 |
Rhino 3D Recipes, Tips, and Techniques |
Rhino is my chosen 3D CAD package. I use it to create drawings for my various projects. I had finished my first part design after about an hour after I installed Rhino. It's a pretty easy program to learn, but I am jotting down a few tips I picked up along the way.
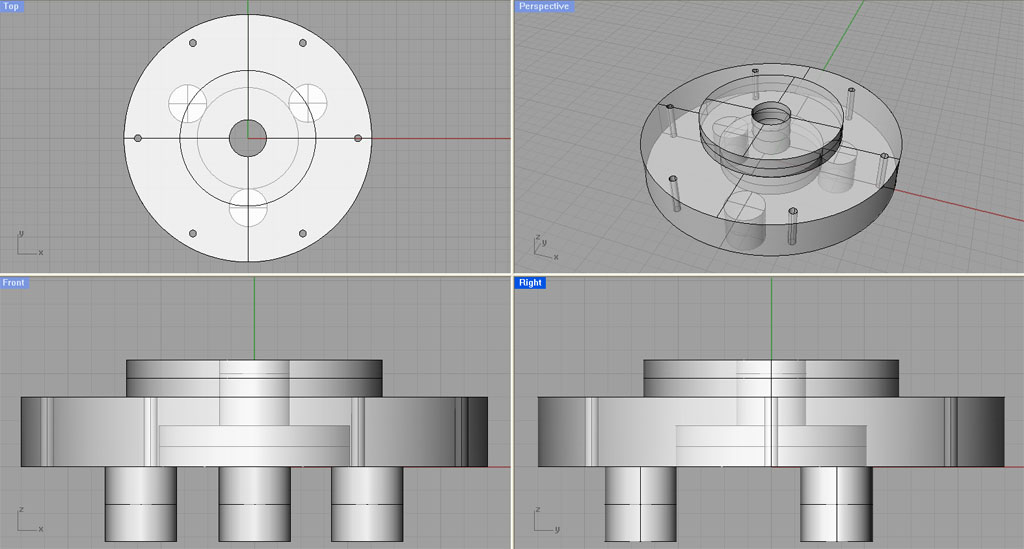
The first part design I did in Rhino 3D was a reproduction of my chuck backplate project...
| The Tips |
Tip 1: Use Construction Aids
Construction Aids are my name for adding things to the drawing in order to help you line things up. To create the bolt circle on the chuck backplate I used a hexagon. It was easy to draw the hexagon by object snapping it to the center of the backplate and typing in the exact bolt circle radius. Once I had the hexagon on the construction plane I could then object snap to its points in order to position the bolt holes. The hexagon isn't part of the part model, and can be deleted once the bolt circle is in place, hence it is a "construction aid" much like lines and scribbles you might draw with your pencil when laying something out.
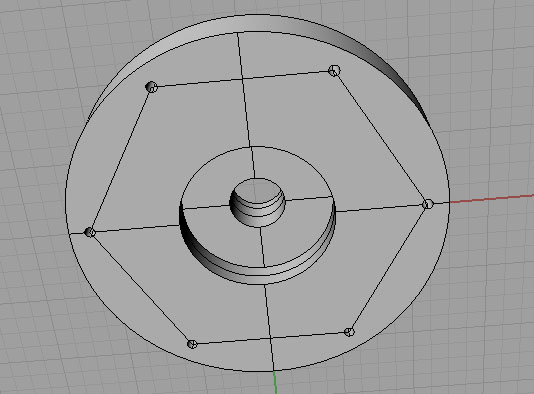
I use hexagons or other polygons to lay out bolt circles...
Tip 2: Put Dimensions on their own layer
Dimensions are important if you are going to use a Rhino model as a mechanical drawing. Your CAM program won't care about them, but if you want to read the drawing for manual machining purposes or even just to pick off measurements you need some dimensions. They're easy to add in Rhino, but I also like to turn them off when they become too distracting. The easy way to do this is to put them on their own layer. Each layer's visibility can be independently turned on and off, making the dimensions easier to hide or show as needed with a quick mouse click.
You can see some of my other Rhino Work in the Rhino Pen.
|
Do you want to be a better CNC'er? Get Better Tool Life, Surface Finish, and Material Removal Rates.
|
||||||||||||||||||
| ||||||||||||||||||


