 |
Lathemaster
9x30 First Chips! |
This page provides a bit
of early history of my lathe: how I chose it, and some shots of the first
chips I ever took with it.
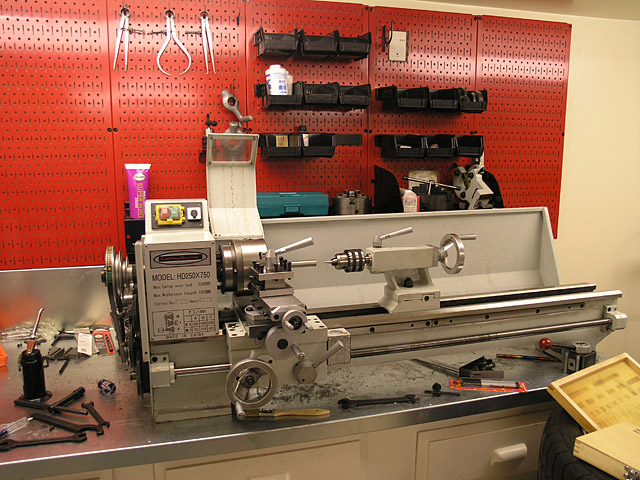
The real thing, eh? Feelthy garage, I will organize
it later!
The heart of any machine
shop is the lathe, and this is also the first tool to learn on. Thus,
I purchased a lathe before I got to a mill and learned to use it first.
These 9 x 20 lathes are a great value compared to a larger capacity model,
easy to use, and there are tons of good modifications discussed on the
web. There are a lot of different variations on the basic 9x20 lathe.
The one I'm choosing is by Lathemaster,
who have a reputation for nicer machines than the average Asian models.
They're still made in China, but they are a more solid, quality control
is better, and sometimes they have more features. In this case, I have
a little more capacity between centers.
I push my lathe pretty hard,
as I like to use carbide insert cutters
which means cutting at pretty high speeds. I have found the Lathemaster
will stand up to it. All the others I read about need a 4-bolt compound
clamp and various other modifications before you can really start to use
the lathe in earnest. That is not the case here. This lathe works out
of the box very very well. I'm sure there are many mods I could make to
tighten up tolerances and add features, but I was very pleased with my
initial experiences after reading about other Asian
machines on the web.
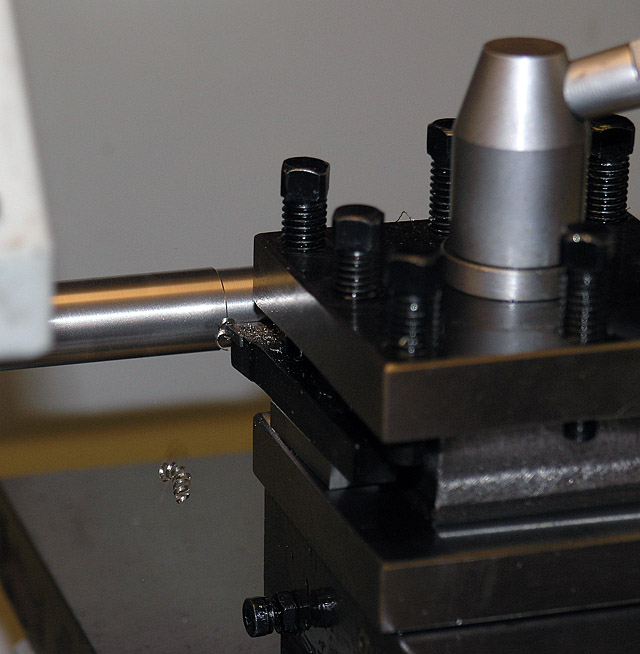
Making chips on the first day!
None of these machines is
really "finished" when compared to Western machines like a Hardinge.
So, amateur machinists modify them in a
variety of ways to make them better. Ultimately, you could even convert
one to CNC, but I'm not sure it's as advantageous for a lathe as it is
for the mill.
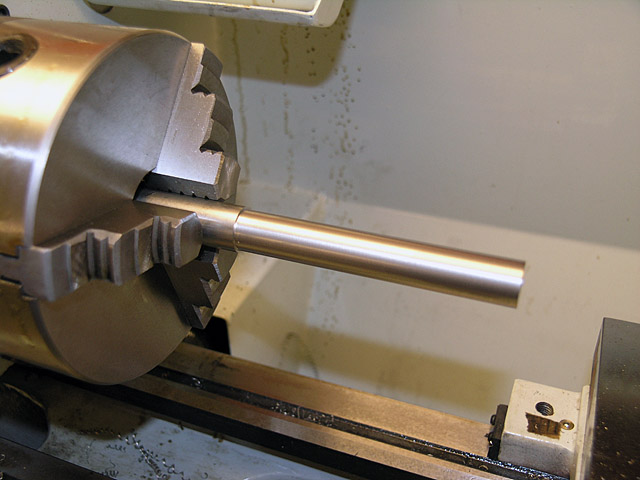
Converting a shiny lump of metal to a smaller, still
shiny lump. Nice surface finish, eh?
 |
Cleanup |
The good news is that
the Lathemaster 9x20 is pretty
close to ready out of the box and you can begin taking cuts after cleaning
the cosmolene-like packing grease off the machine. Plan on spending an
afternoon taking things apart, cleaning them with kerosene, oiling them
(see the tip below on using chainsaw oil), and then putting them back
together. The only tools I had were a tin mug holding the kerosene, a
1" chip brush (you need a bunch of these anyway), lots of paper towels,
and an oilcan full of chainsaw oil. I read about some of the major work
that has to be done to other lathes, the very least of which is removing
burrs and replacing stuff that just flat doesn't work and I'm glad I spent
a bit more on Lathemaster. While
I'm on the subject, let me point out two things. First, if you've spent
any time on this site at all you'll know I have no affiliation with Lathemaster,
I just like their products. Second, I bought this lathe right after hurricane
Katrina had struck New Orleans, Lathemaster is very nearby in Baton Rouge,
and I still got great service and a great lathe!
Tip: You
can buy a container of expensive hard to find product called "Way
Oil" to oil your ways or you can buy chainsaw oil (chain bar oil).
This is also the proper oil for headstock bearings. This was confirmed
by Shell Oil technical help line that the two products are identical.
Here is what I took apart:
1) Tailstock: Remove tailstock
from lathe bed. Remove ram from tailstock (just extend it with the handwheel
until it comes off the screw and pull it out.
2) Turret-style Toolholder:
Unscrew the locking lever from the top and pull it off the compound. Wash
thoroughly in kerosene and apply rust preventative. I just used the oil
I had, wiping it down with a paper towel to leave a thin coating.
3) Compound
Slide: Remove from the cross slide by extending the screw until the slide
comes off the end. Be careful not to drop the gib (the little piece of
metal wedged into the dovetail). Clean with kerosene brush and oil.
4) Ways and
Leadscrew: Take your kerosene brush to these until they're clean and then
oil. Run the carriage from one end to the other and clean all the way.
Make sure the carriage is running smoothly across the ways on the rack
and pinion.
Note: Some
would continue by disassembling all the way to the carriage and apron.
This was a bridge too far for me. I oiled it and made sure it ran smoothly
and then moved on. You could probably at least remove the cross slide
as an intermediate step. Again, I got in a hurry to play!
5) Reassemble
the pieces you've removed back onto the lathe.
6) Next, I
lubricated the gear train using some white lithium grease. As they used
to say, "a little dab'll do ya."
7) Run around
all the little oil ports (there are many on this machine!) that you haven't
already hit and give a little squirt of oil.
8) I started
up the machine and let the leadscrew traverse the carriage from far right
all the way left, giving it an occassional oil squirt to make sure things
got a good coat of oil. I think I may have stopped the machine twice to
add another dab of lithium grease to the gear train. Be very careful--those
gears on my lathe are hardened metal and would grind a finger to pulp
if you get it caught in there.
9) Lastly I
cleaned up my chucks. I probably should have taken the jaws out, but I
settled for kerosene on the outside followed by a good oiling. I was anxious
to make some chips!
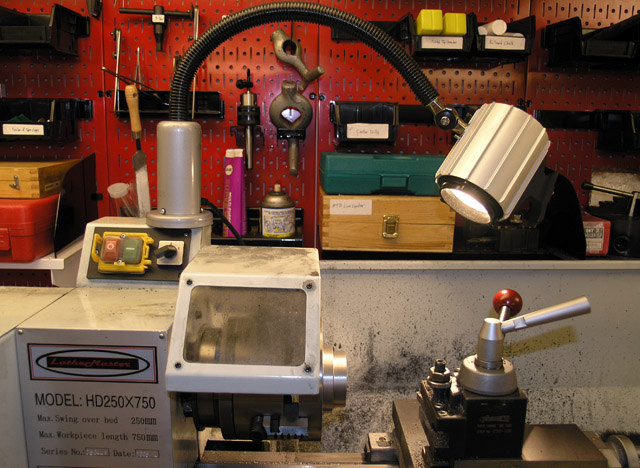
I love my little magnetic halogen lamp for the lathe!
(It came from eBay seller 800Watt)
Back to Lathe Home...


