
|
|
|
|
|
|
|
Want to be a better CNC'er? Get our weekly newsletter plus a package of greatest hits, special tips, and more, all for free. I'm Ready to Be a Better CNC'er, Hook Me Up! |
CNC Lathe: Rack Mount PC
It's Daddy was a Slot Machine, It's Momma was a Supercomputer...
I'm building an Athlon 64 system that goes in a rackmount enclosure to match the driver electronics enclosure. I plan to keep the power switch as a slot machine switch (like I used on the control panel) with the label "Deal".
PC Specifications
The specifications for the system are pretty straightforward:
| Motherboard | ASUS K8V-MX Motherboard. Mini-ATX form factor. About $60 when I bought mine from www.NewEgg.com. |
| CPU | AMD Sempron 2600+. $56 from www.NewEgg.com. |
| Memory | OCZ D400 2x512M RAM. $86 from www.NewEgg.com. |
| Video | On board nVidia nForce 2 |
| DVD Drive | DVD Drive, NEC ND-3550A $37.99 from www.NewEgg.com. Later on I swapped this to a laptop DVD drive and adapter in order to make more room in the case. Cost was somewhat higher. |
| Hard Disk | WD 80GB HD. $48.50 from www.NewEgg.com. |
| Power Supply | PSU Athena Power AP-MP4ATX35 Pwr Supply. $41.50 from www.NewEgg.com. |
| Case | 19" rack mount enclosure purchased on eBay for $80. I will use a second identical case to hold the driver electronics for the motors. |
| Connections |
Monitor, keyboard, mouse, touch panel mouse, LAN, speakers. I considered whether a USB key would be useful. A lot of CNC systems use them these days to load programs onto the machine. They're pretty cheap. The thing is, this machine will be sitting on my household LAN, so I don't know that I'd ever use it. |
| Monitor | Touch Panel screen. I have a 12" LCD touchpanel I snagged on eBay for cheap. If I like the touch panel idea, I may upgrade to a bigger screen later. |
| Keyboard | I'll use some kind of pretty ordinary (and cheap) keyboard that'll sit in a keyboard tray I got off eBay |
| Mouse | Not sure I'll need a separate mouse with the touch panel. We'll see. |
Total basic PC Cost, not counting the enclosure: About $340, shipped, all new components. That does not include a monitor, keyboard, or mouse, but it does get me a fast 64-bit system that is probably way over the heck to run Mach 3. You never know, I may want to run Rhino 3D or OneCNC to make a quick change and post new G-Code without having to run upstairs to the office computer.
Building the PC Enclosure
To create the square cutout for the DVD I started out using my plasma cutter. It was better than trying to cut out with a Dremel and abrasive wheel, but left a pretty messy edge. The sweet ticket is to mill out any openings you can, and I did so on my IH Mill. That leaves a really clean cut and straight lines. I bead blasted the front panel to create a nice satin finish there. I mounted one of my slot machine buttons (same as used on the control panel) to use as a power switch for the PC as well as a couple of LEDs to show that the PC power is on and a hard disk activity indicator.
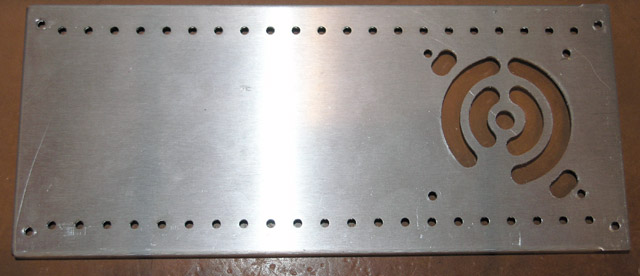
I cut the opening for the fan using my Phase II Rotary Table on the mill...
To mount the motherboard I used nylon standoffs of the kind that are readily available for such purposes:
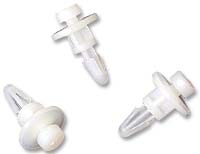
Nylon Motherboard Standoffs
While this style is really designed to slide into sheet metal slots, I made do with holes. Drill a 0.234" size "A" hole. Deburr the hole using a Keo zero flute deburring bit (these work really nice!). You should be able to push the standoffs through the holes with firm pressure as the nylon has a little bit of give.
I must say that the number of little holes, openings, brackets, and miscellaneous finicky little wiring required to fabricate a PC cabinet from an enclosure not set up for it is a little bit amazing. It's a very specialized world and you forget how many little things come for free when you buy a finished case from someone. For example, the little speaker that's needed to hear beeps when you boot the machine. I never did find an Internet source for them so I ripped one out of an old 486 Dell box that was sitting down in the garage.
Here are some photos of the finished PC after it first came up and I was installing Windows XP on it:
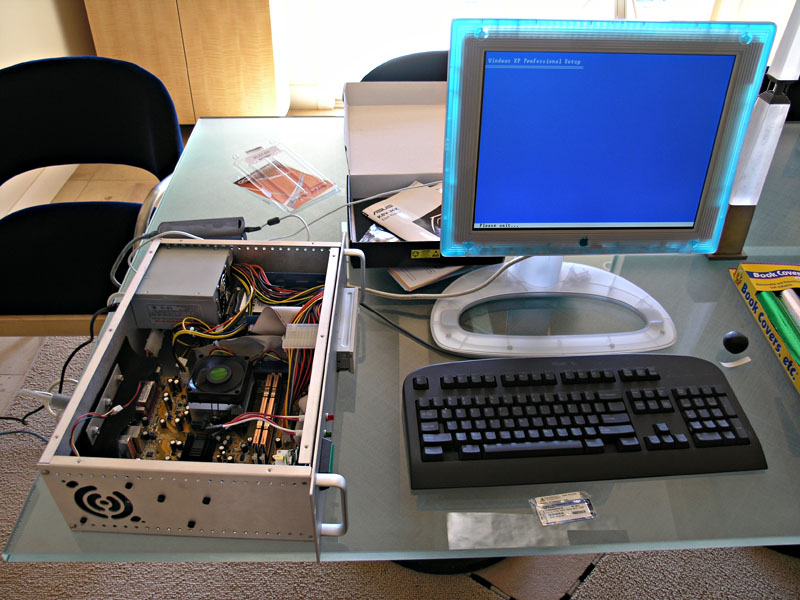
It came up right away. Installing Windows XP here...
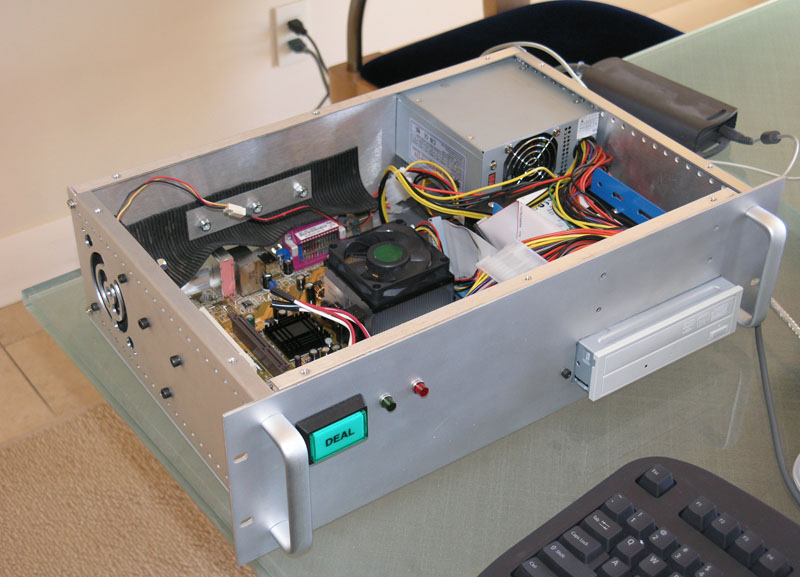
I like "Deal" being the power switch!
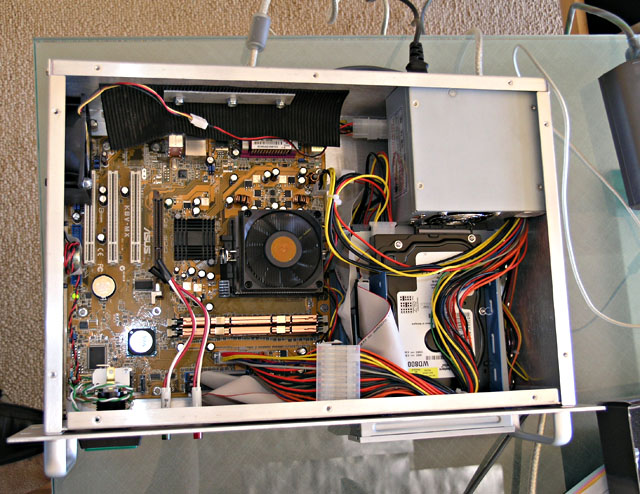
Pretty tight, but workable...
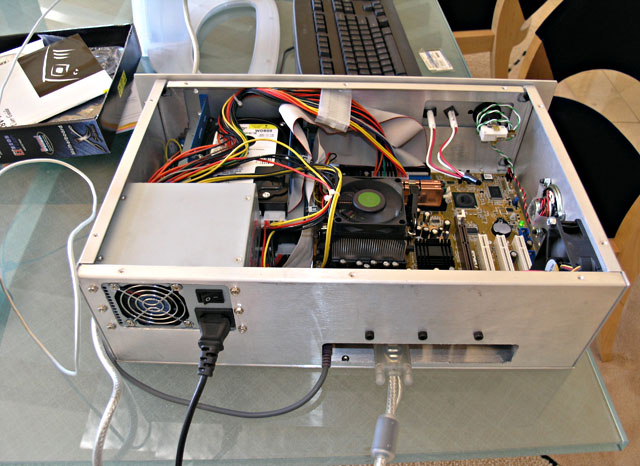
Rear panel. Cutouts were done on the mill...
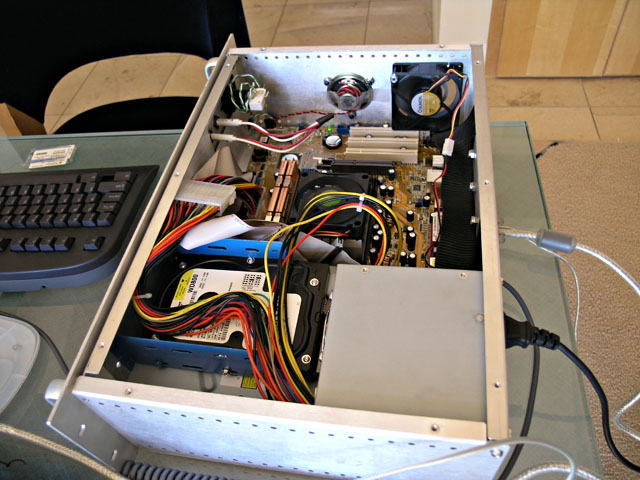
Another view...
At this stage, the PC could use some refinements. Not everything fit very well. In particular, the depth of the rack mount chassis was not great enough to accomodate the DVD drive without it protruding from the front or the hard disk rack in the place where I wanted it. Other than that, it worked out pretty well. When I get my sheet metal brake built, I might just re-engineer a new case. For now, this is good enough.
I also need to hook up the power and hard disk activity LEDs that are just taped off at the moment. Lastly, the chassis fan is dying, and makes tons of bearing noise. I scrounged it off my wife's computer. I had to give her the new fan originally intended for this machine to keep the peace and just haven't been back to Fry's to get another.
Software Configuration...
First thing's first: installing Windows XP. This was followed shortly thereafter by the installation of Mach 3. I use a wireless LAN to go and retrieve the g-code files from my home office computer, which is where I run my CAD/CAM software.
|
Do you want to be a better CNC'er? Get Better Tool Life, Surface Finish, and Material Removal Rates.
|
||||||||||||||||||
| ||||||||||||||||||


