
|
|
|
|
|
|
|
Want to be a better CNC'er? Get our weekly newsletter plus a package of greatest hits, special tips, and more, all for free. I'm Ready to Be a Better CNC'er, Hook Me Up! |
New Way Covers for the IH Mill
The way covers that come with most of these imported mills are pretty flimsy. Mine were no exception, and they're much the worse for the wear, so I decided to make up a new set of way covers. Someday, I want to create a set of sliding metal way covers that use a parallelogram linkage like the commercial CNC mills use:
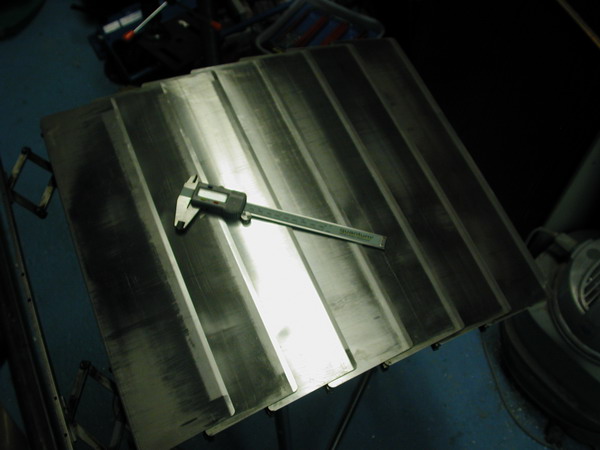
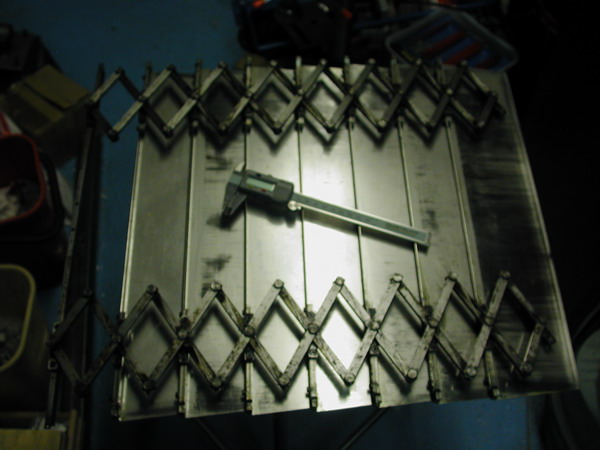
The secret is to guide the overlapping plates with a scissors mechanism!
Since I've had so little time in my shop recently, I need to do something a little more expedient. I will need a bending brake anyway, before I attempt to make covers out of sliding stainless steel.
Update: I refitted the mill with a set of Tormach covers. The magnetic covers worked reasonably well, but they could be fussy and come loose. The new covers are much more secure.
My more expedient solution is to create some magnetic holders. Have you ever played with the little rare earth (neodymium) magnets that are commonly available? They're really strong! The idea is to install an array of those little magnets in some aluminum brackets. These brackets will then be attracted to each other, so they can pinch the way cover material and hold it. In addition, they will be attracted to the cast iron frame of the mill. If there is an interference, the magnets can pop loose before anything gets damaged. Assuming the magnets can generate enough force to hold tightly, I think this sort of system will work great for my IH mill and be a big improvement.
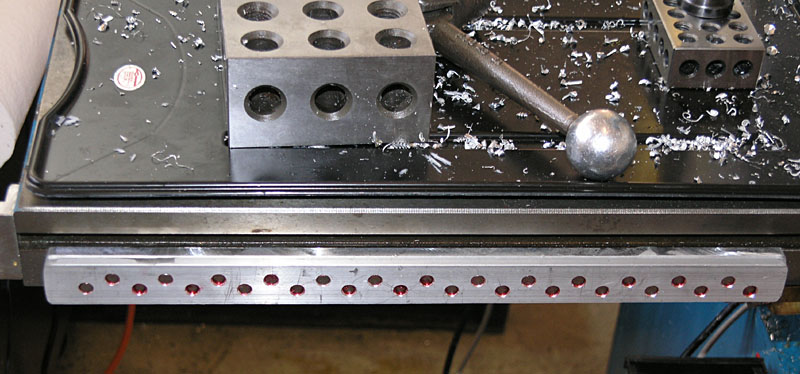
The magnets are simply installed in the aluminum brackets by drilling an appropriate hole and Loctiting them in. Make sure you align them all in the right direction or you'll be very unhappy, don't ask me how I know!
For the actual cover material, try Home Depot's (or any other builder supply) shower pan material. It's a soft and flexible rubbery material that seems perfect for this job. It's got some thickness to it, and the flexibility is excellent compared to the cover material that came with my mill.
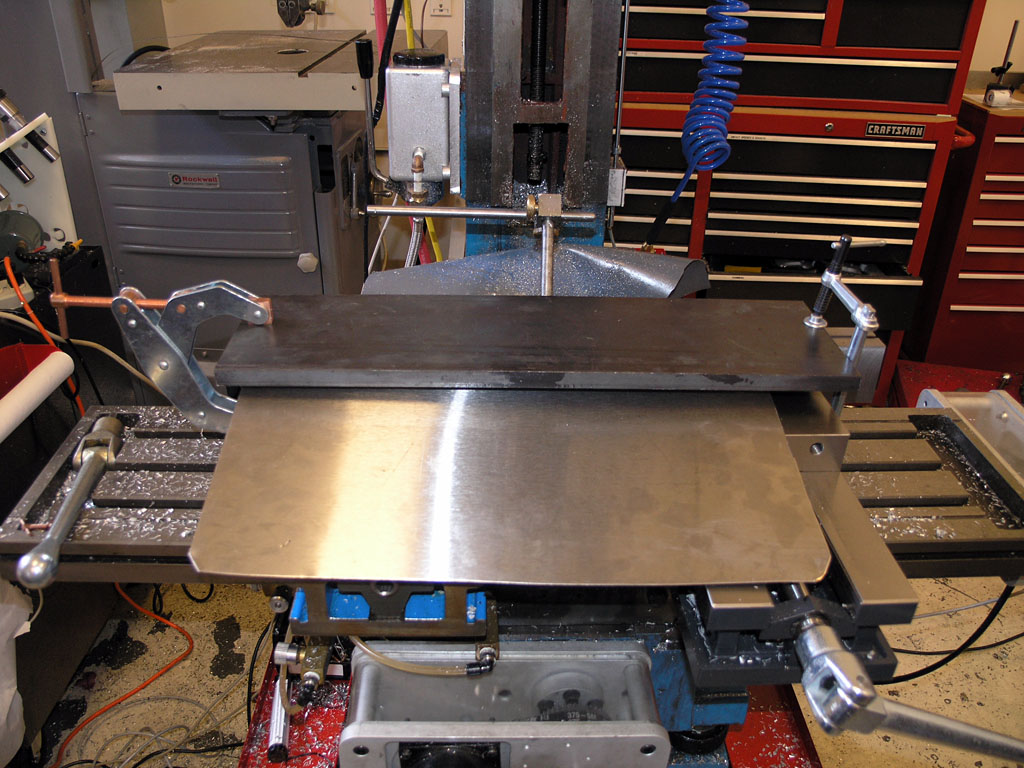
Here are the results:
That's a big ole way cover!
Lower pair of clamps...
Upper pair of clamps...
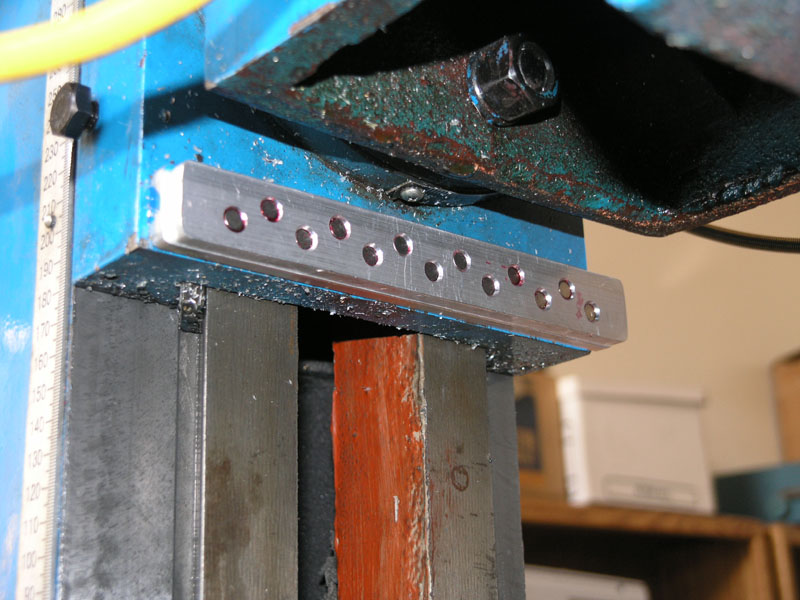
G-Code for Magnet Pockets: Small Brackets
Nothing but a series of 1/4" holes drilled in a zig zag pattern along the centerline!
G-Code for Magnet Pockets: Large Brackets
Same thing only more holes are needed because its a longer bracket:
Sheet Metal Y-Axis Cover
For the other end of the Y-axis, I am going to just bend some sheet metal to cover. Given the travels, when the Y-axis is at maximum travel from the column, the sheet metal will extend just to the end of the servo, which seems about right.
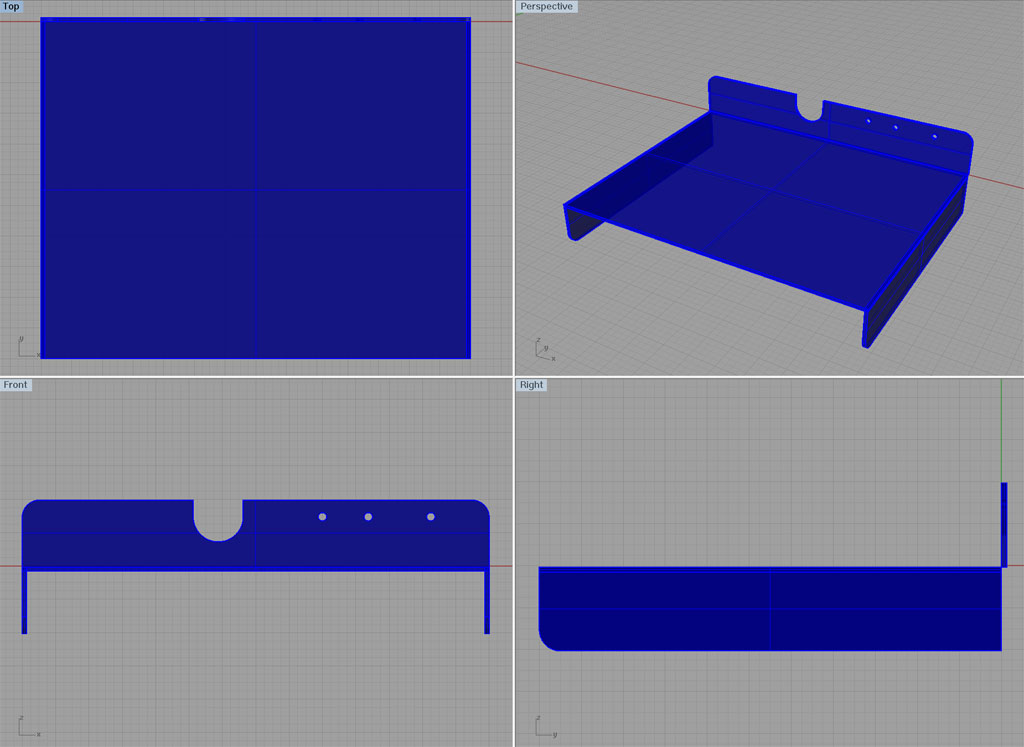
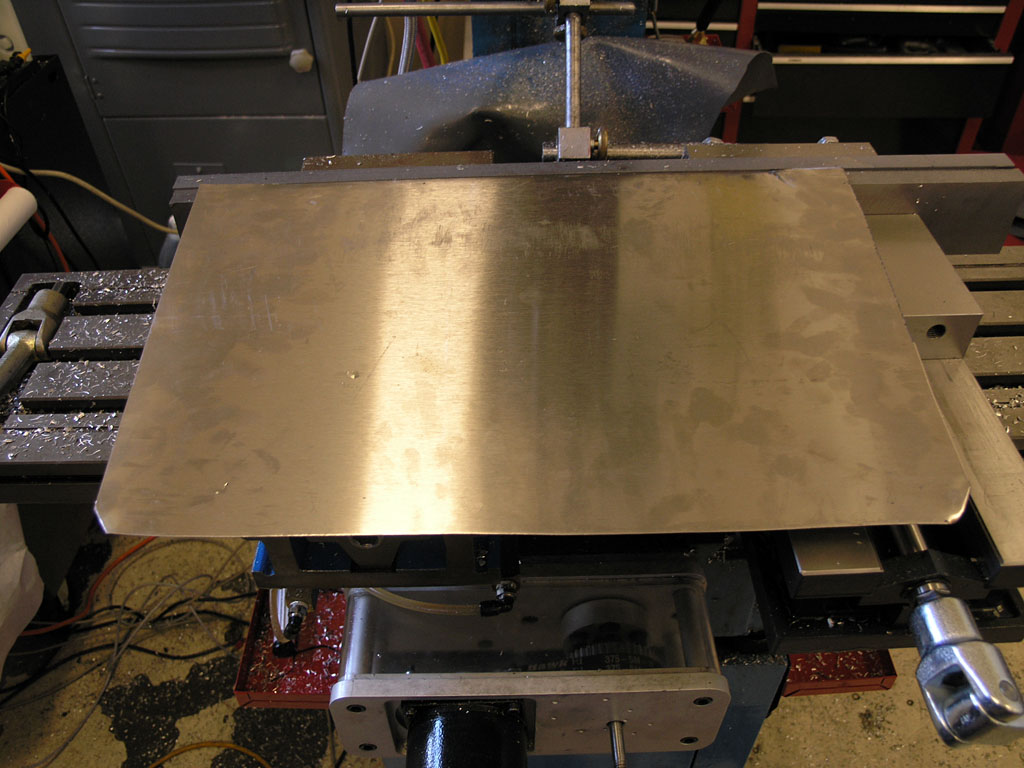
Here is what a finished cover looks like:
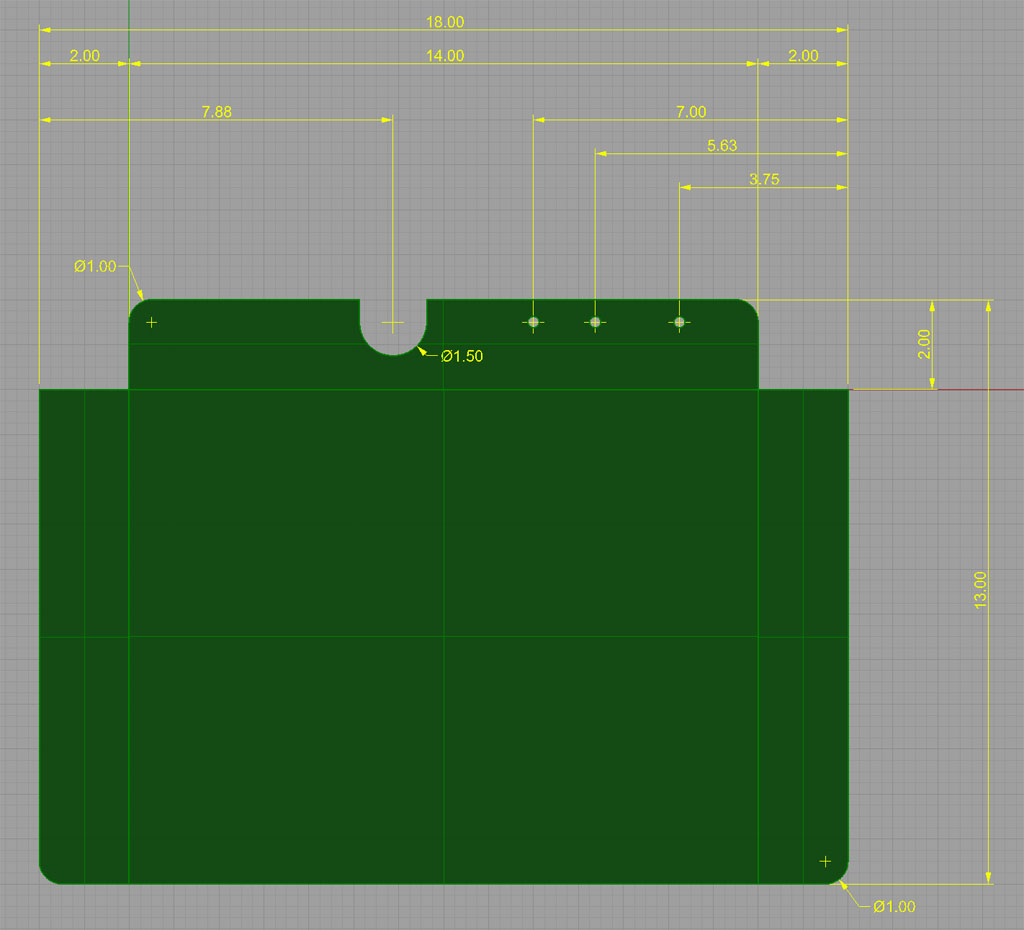
Here is a dimensioned drawing of what I am planning:
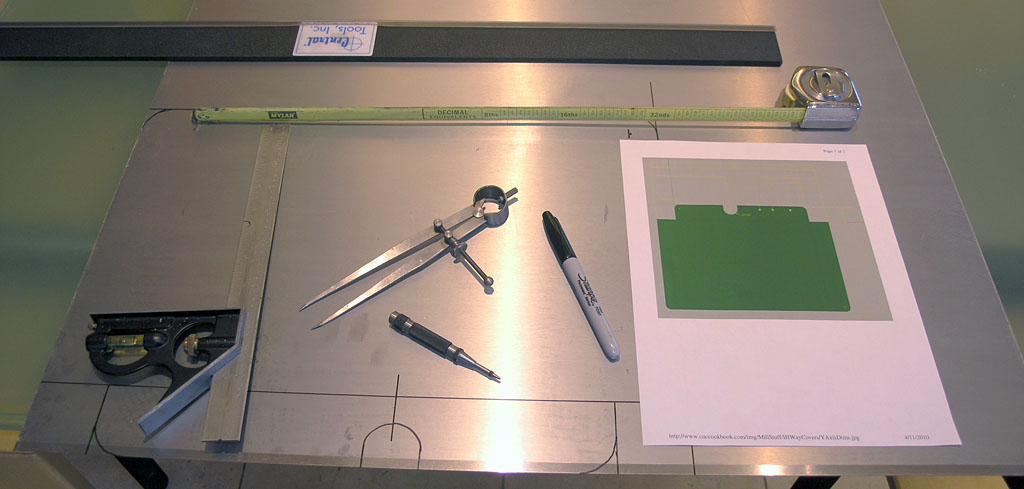
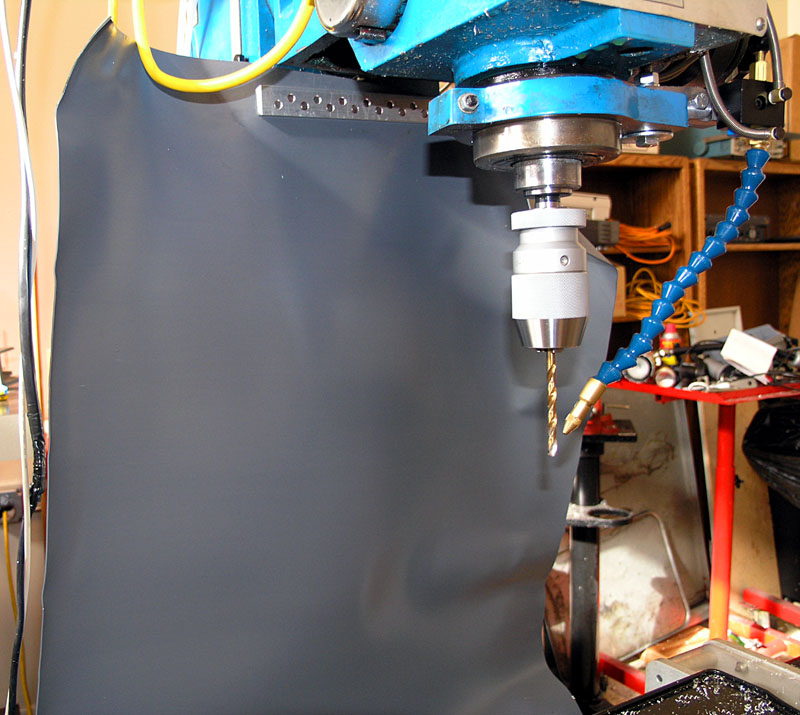
First step is marking out the stock. This is some nice stainless sheet metal I had kicking around...
After cutting the flat stock out with bandsaw, air nibbler, and drill press, I'm using my Vise Jaws of Doom as a simple bending brake. The clamps help with the crease, and that's a nice piece of cast iron on top...
Bend completed, you can see how the sheet is held in the vise jaws...

This is what we get after a couple more bends. That'll provide a lot more protection from the chips!
|
Do you want to be a better CNC'er? Get Better Tool Life, Surface Finish, and Material Removal Rates.
|
||||||||||||||||||
| ||||||||||||||||||


