
|
|
|
|
|
|
|
Want to be a better CNC'er? Get our weekly newsletter plus a package of greatest hits, special tips, and more, all for free. I'm Ready to Be a Better CNC'er, Hook Me Up! |
A Power Feed for the Industrial Hobbies Mill
While waiting around before my CNC conversion on the mill, I decided a power feed would be nice to have. There are a variety available including one that fits out of the box that is available from Lathemaster. Never being one to do things the easy way, I decided to adapt an inexpensive power feed that I found on eBay for just $169. This particular feed is intended to fit a Bridgeport mill, and as such, some work is needed to make it operable on the Industrial Hobbies Mill. It turns out not to be too hard, so if you want to save some money, locate an inexpensive Bridgeport-compatible power feed and try doing what I've done.
I have to say that using the power feed improved my surface finish (due to more consistent and easily adjustable feed rates), and it generally makes the millwork go a lot faster. Highly recommended!
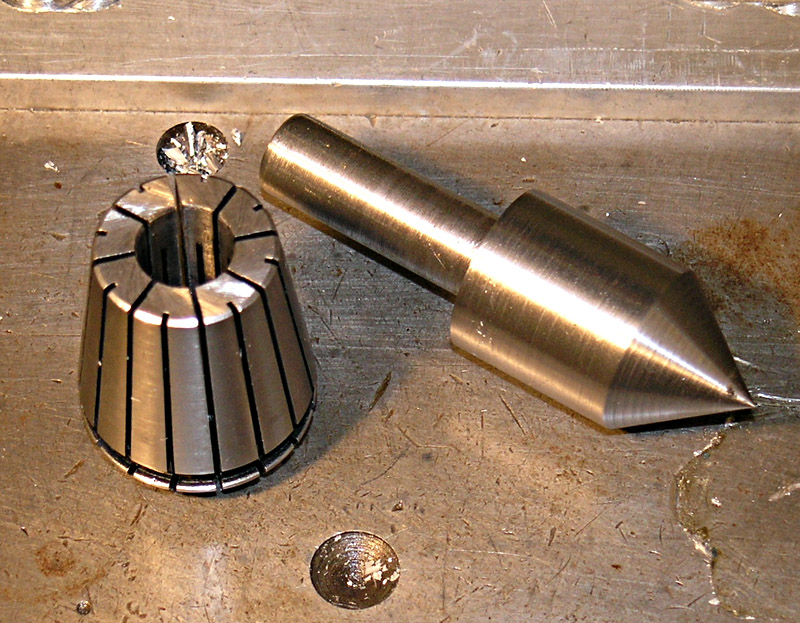
Adaptation is straightforward, and involves fabricating two parts. First, you will need a lathe to make a shaft adapter. Believe it or not, the shaft the power drive unit expects on the Bridgeport is a smaller diameter than what I have on my IH Mill. Making this adapter is straightforward, and the power drive is well suited to it. Second, you will need an adaptor plate that adapts the bolt holes on the power drive to those of the IH Mill. Again, this is a pretty straightforward exercise. Below is a photo essay showing some of the steps involved in making this conversion.
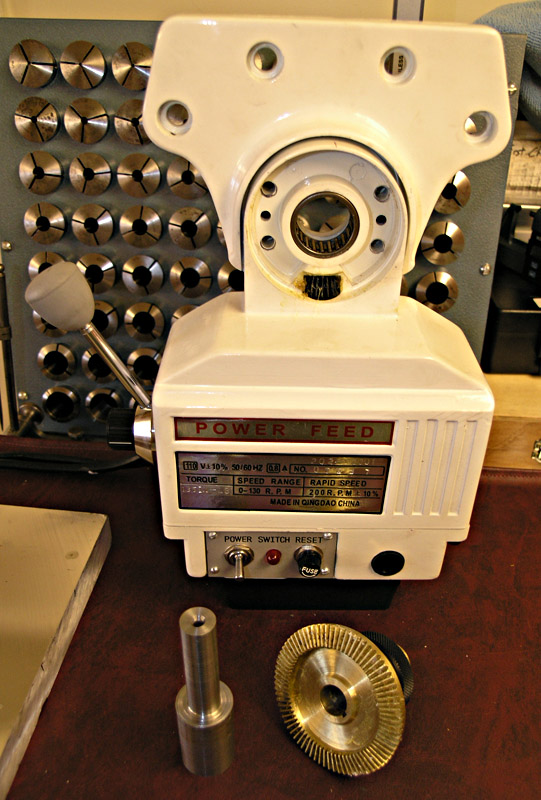
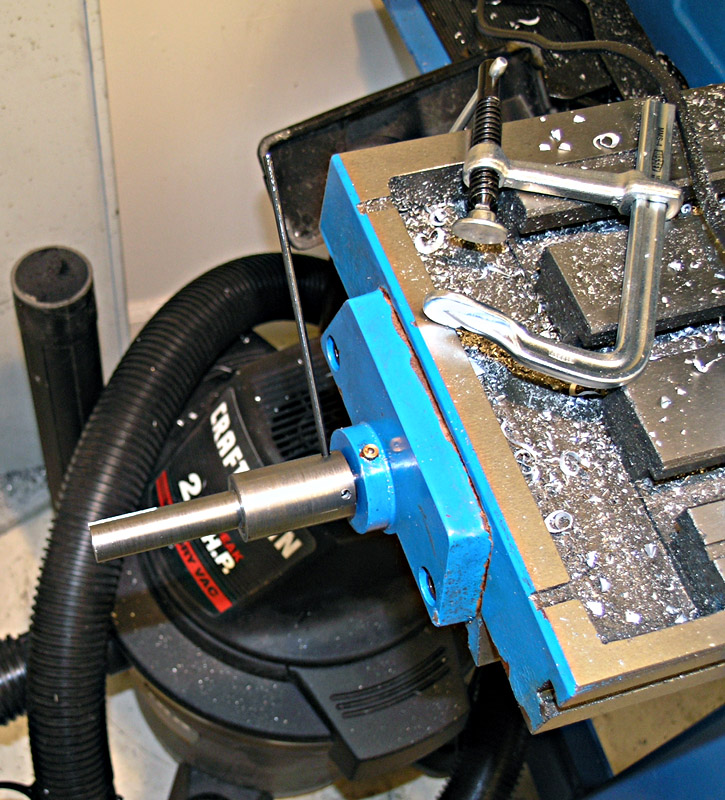
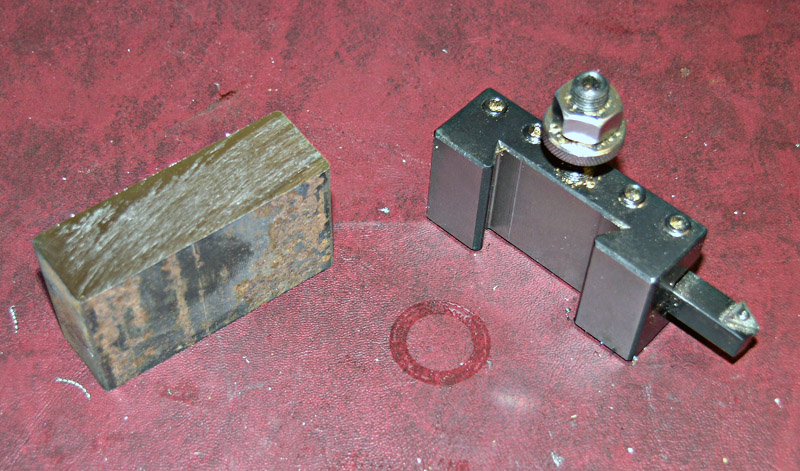
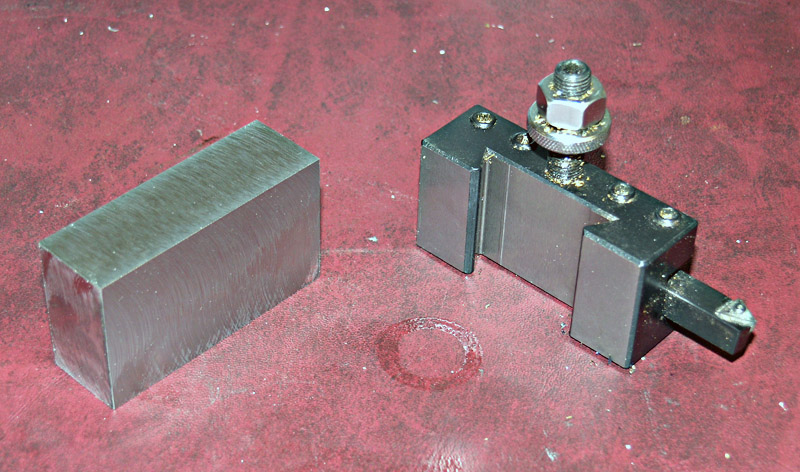
That's the power feed along with the shaft adapter...
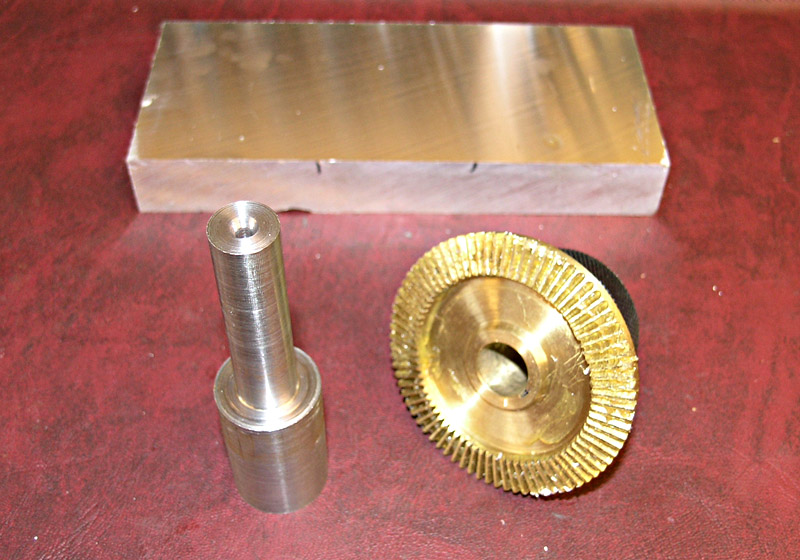
A little closer look at the adapter. Needs to have a keyway cut as well as a few other things to be finished...
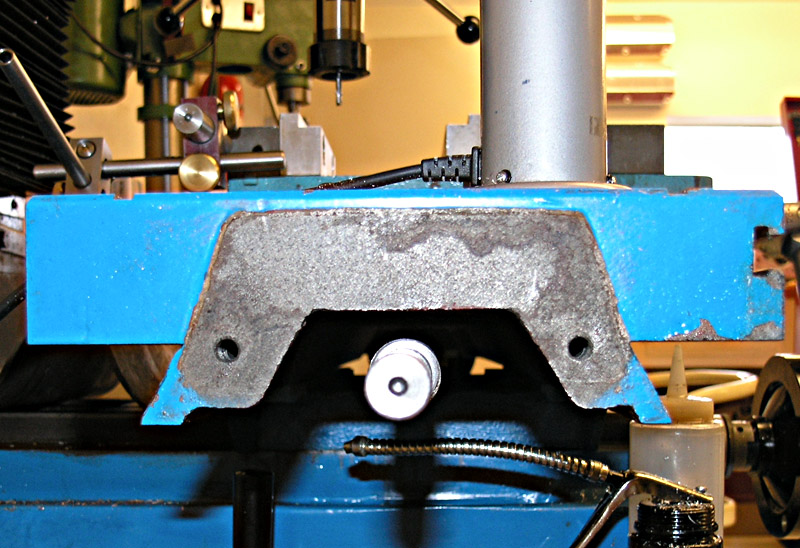
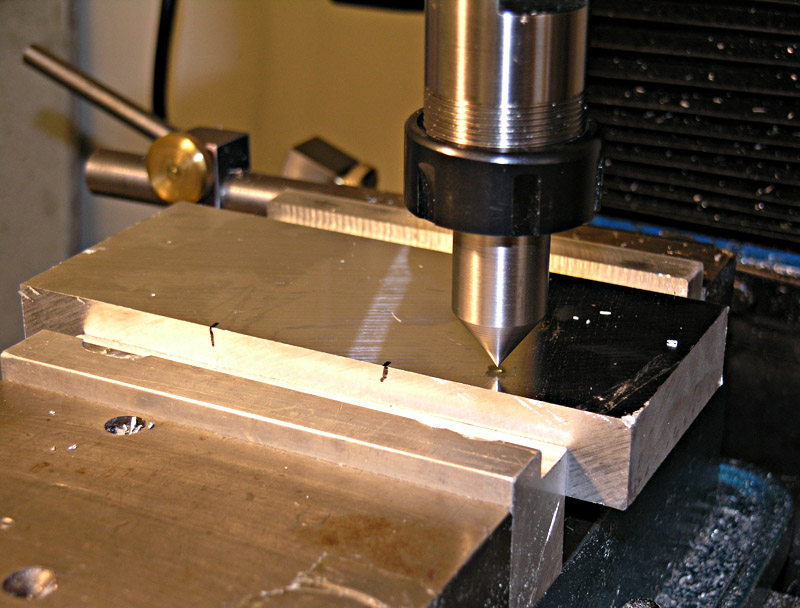
I've removed the plate that supports this end of the leadscrew...
I'm using a transfer punch to get the bolt holes for the plate in the right spot. That's a piece of 3 1/2" x 7 1/2" x 1" MIC-6 6061 aluminum plate...
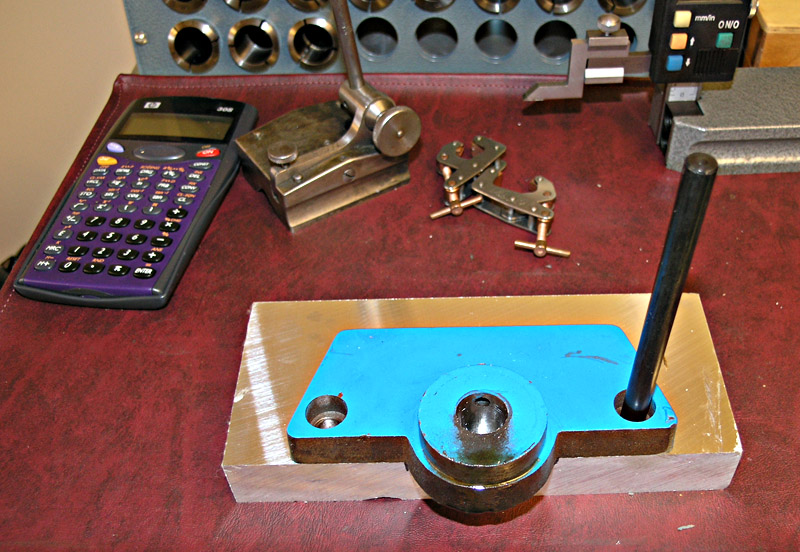
I'll use my handy dandy hole spud to pick up the punch marks on the plate. Easy to turn one of these on you lathe...
This is quick and easy in the world of "close enough" for locating the holes. I picked up the first hole, zeroed the X-Axis DRO, cranked over to the second hole and noted down it's position on the DRO. Now I can come back to a hole when I need to...

Drilled and countersunk the mounting holes using center cutting end mills...
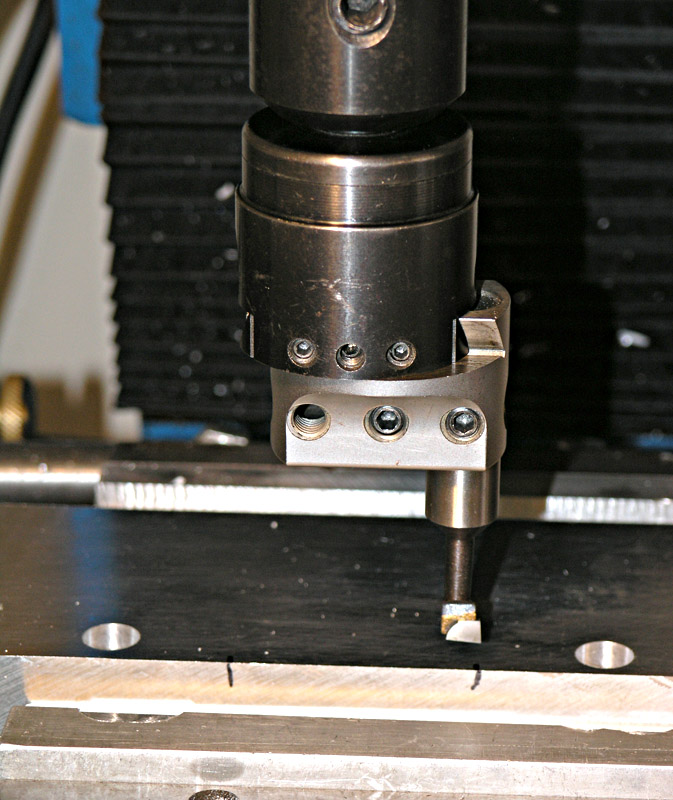
A semi-circular cutout is needed to clear the shoulder with the oiler on the mill. I'm using my Yuasa boring head (cheap on eBay!) to get that job done...
I cut the initial arc very shallow so I could see what I was doing. The rest of the cuts move in the Y-axis as you see here. It's a lot like using a fly cutter with a variable radius of cut...
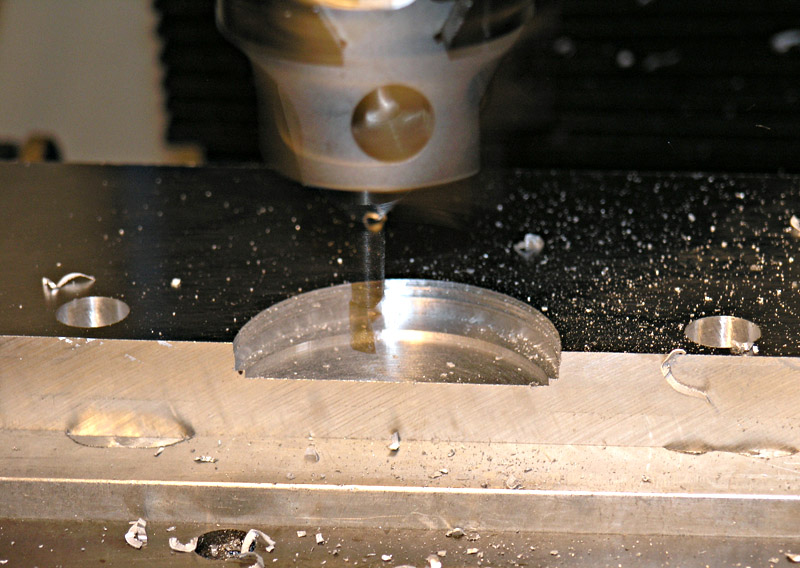
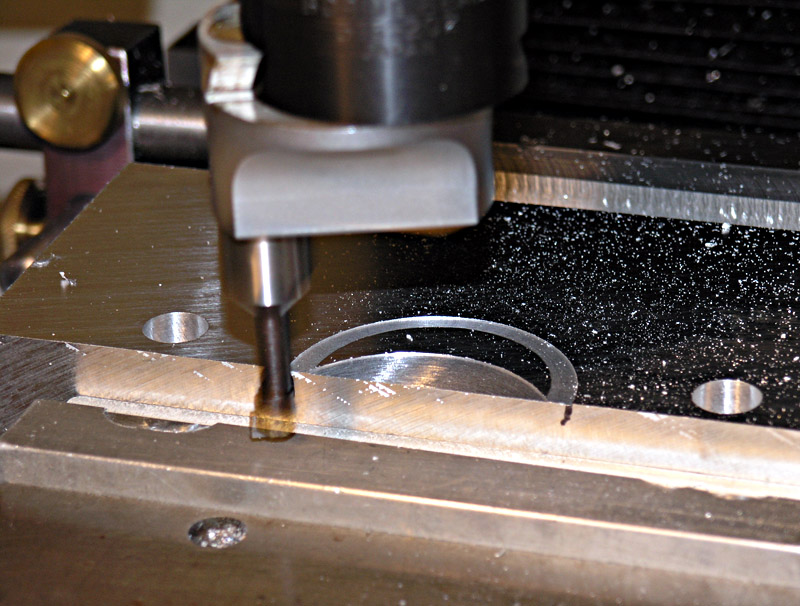
Getting close. When I get a little over halfway, I'll flip the piece over in the vise and go at it from the other side...
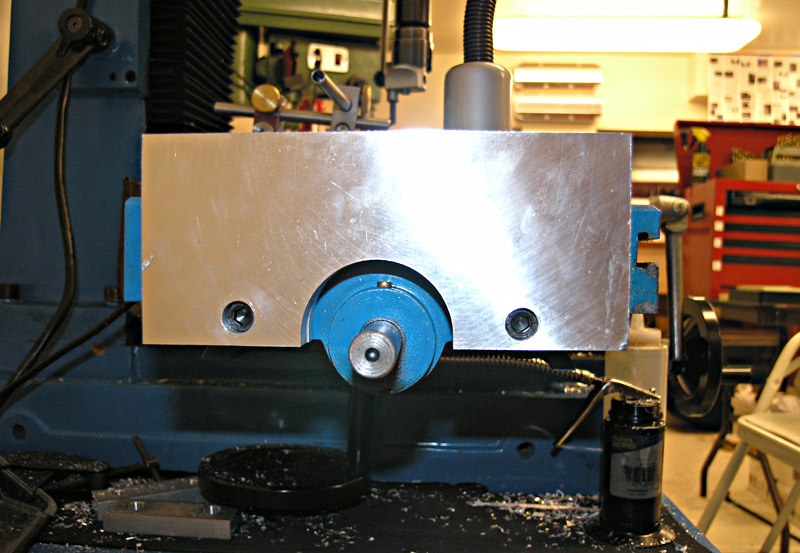
Now we've got the cutout for the shaft, we trial mount the bracket to the mill...
Hang the power feed unit on the bracket using the partially finished shaft adapter. Use a transfer punch to locate the mounting holes...
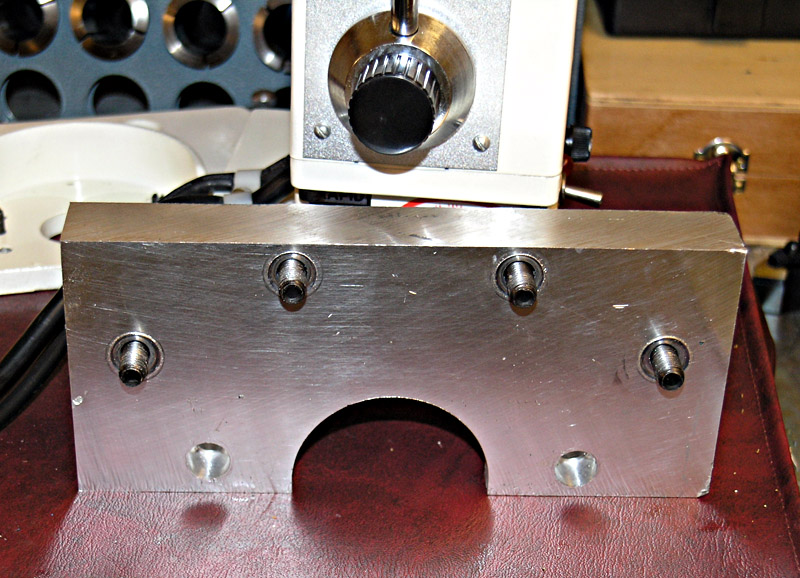
Here is the finished bracket. Socket head bolts are press fit into the plate to create studs because you can't access them from the other side when the plate is mounted to the mill...
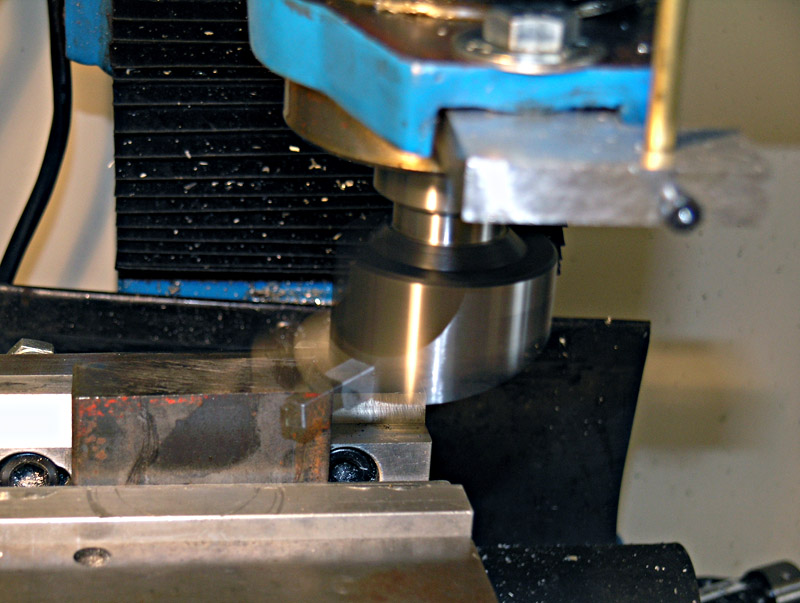
Keyway being cut with a Woodruff Key Cutter. The adaptor is being held in the Kurt vise with a v-block on one side...
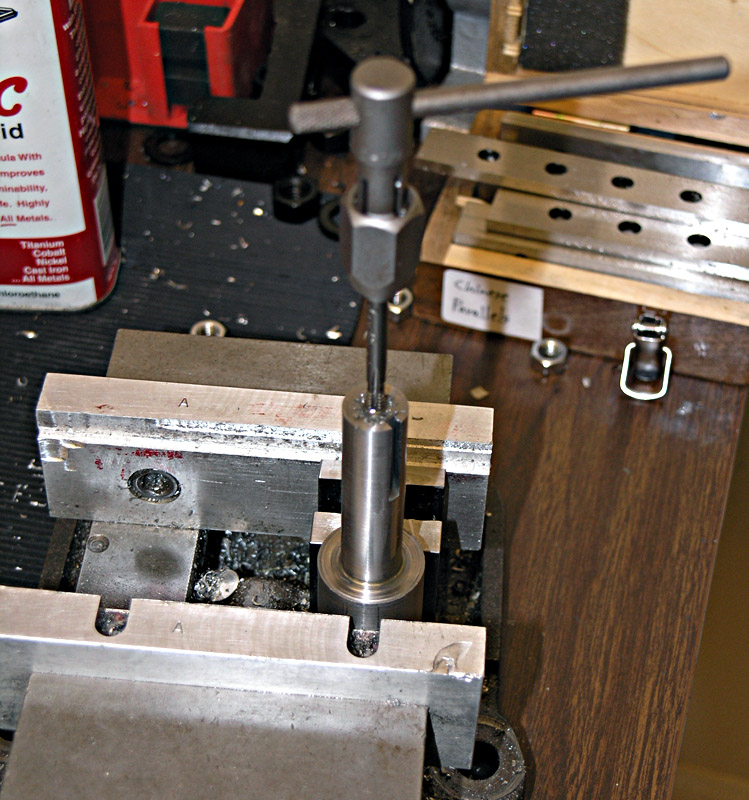
While I had the adaptor in the vise, I drilled set screw holes. Here I am using my transfer punches again (love those things!) to locate the spots on the shaft where I need to grind flats. I carefully used my Dremel to do this by hand. It doesn't take much, so easy does it!
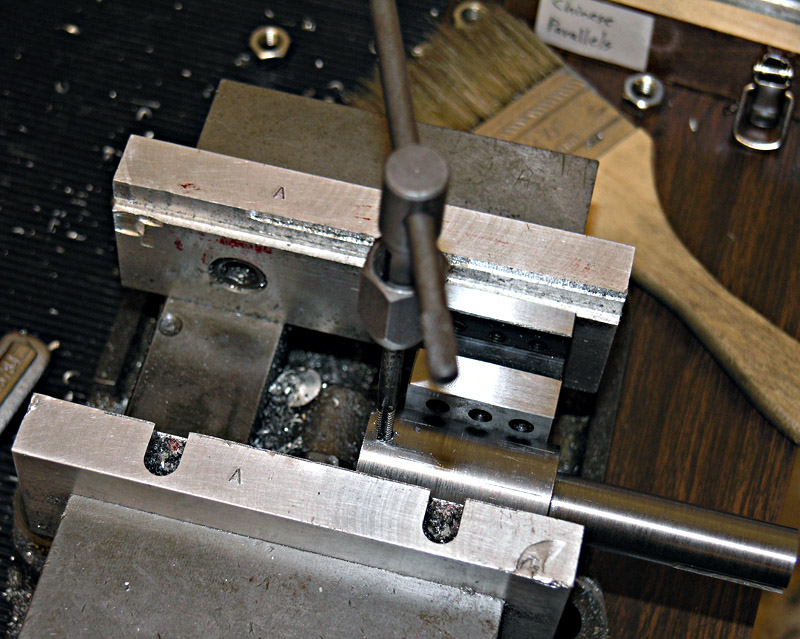
Tapping the set screw holes. Piece is again secured in my 4" Kurt vise with a v-block on one side...
One last 10-24 thread in the nose piece of the adaptor...
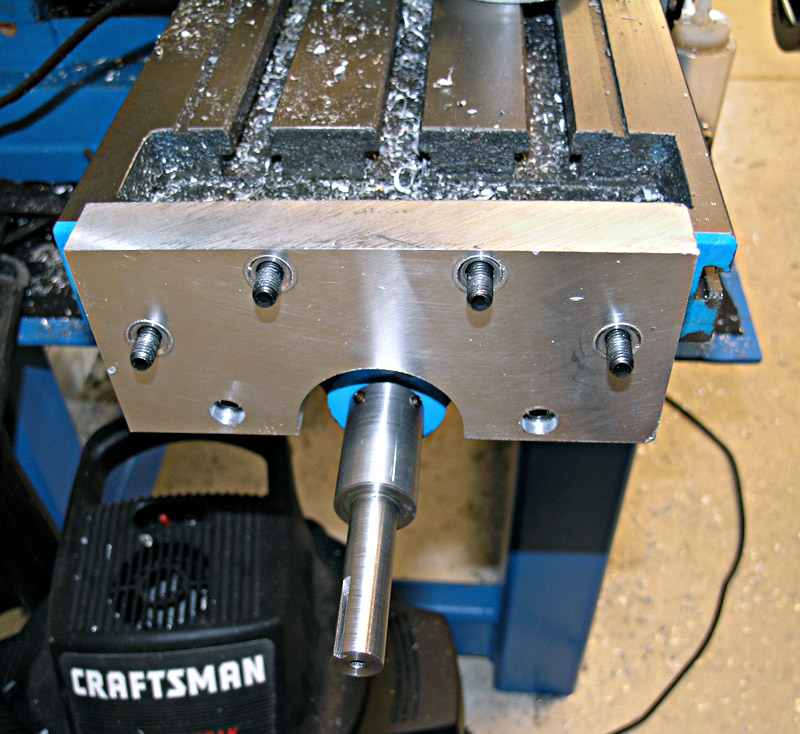
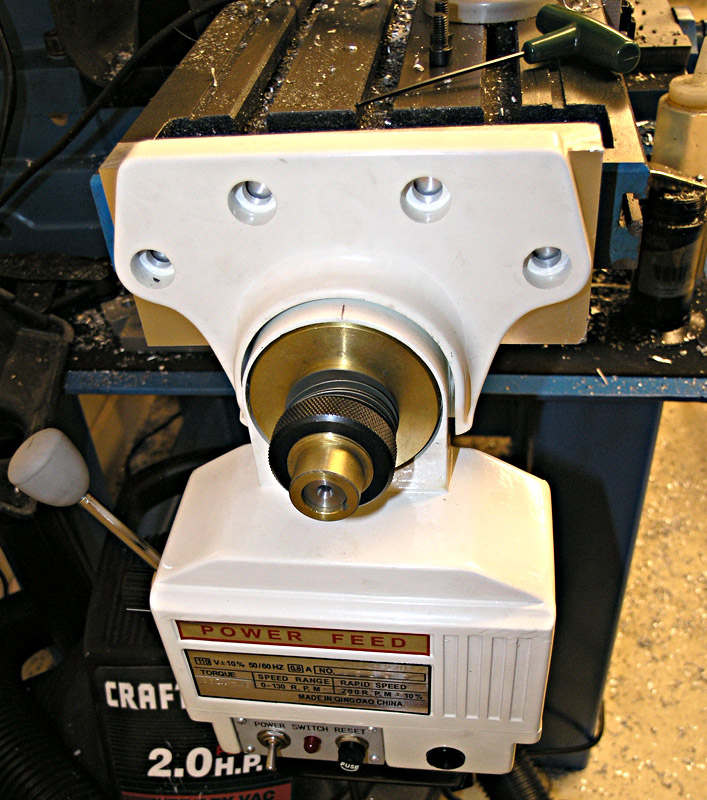
Adaptor plate is mounted as is the shaft adaptor. You can see the keyway clearly in this photo...

And thar she blows! A big white Moby Dick of a power drive. How you like?
Let's try it out squaring a block with a fly cutter. Don't worry ugly little piece of steel, one day you can be beautiful like your little friend there!
Look Ma, fly cutting with no hands! Power feeds are great!
Something about a freshly squared block that is just wonderful, don't you agree?
This was a very worthwhile project, and not at all hard. If you come across a hot deal on a power drive like I did, you should go for it! As I mentioned in the intro, it improved surface finish to have more consistent and easily adjustable feed rates, and it generally makes the millwork go a lot faster. My next make-the-mill-go-faster project is a powered drawbar.
Postscript: Busted a Gear in the Power Feed
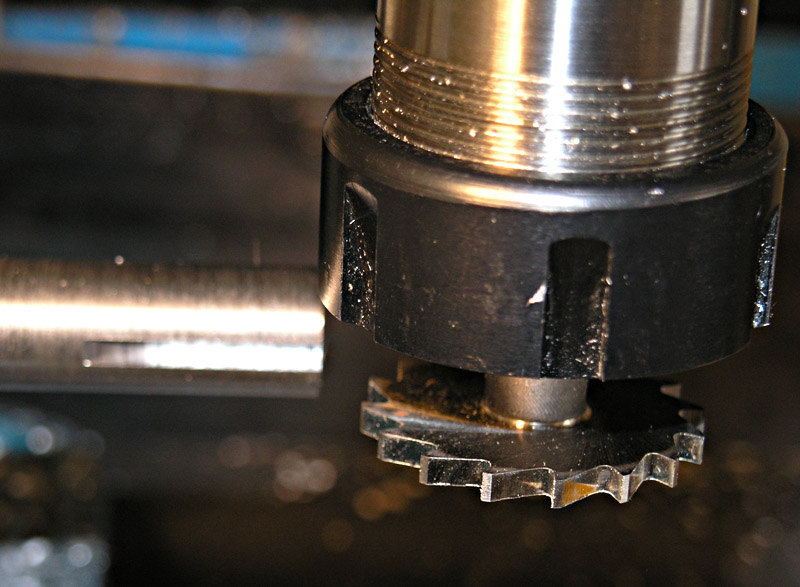
I had been using the power feed every chance I got when one day it got very noisy during a pass and jammed tight. I shut it down quickly and fiddled around with it to no avail. As I pulled the assembly off the mill to take a look, it became clear that the needle bearing that goes over the mill's shaft had completely disintegrated. I'm not sure what was holding it together, but all the needles were loose. Worse, one had jamped in the bevel drive gear. I cleaned all that out and tried again. Still tremendous noise from the unit, though it moved freely and there was less noise than before. Feeling a bit grim about it all, I took the power feed apart and quickly discovered that the main drive gear, helical cut out of nylon, was missing quite a few teetch in one patch. Doh! I hate when this happens.
The nylon gear is about 92mm in overall diameter and appears to have about 4 teeth per centimeter. This is no ordinary gear either, being a helical gear.
|
Do you want to be a better CNC'er? Get Better Tool Life, Surface Finish, and Material Removal Rates.
|
||||||||||||||||||
| ||||||||||||||||||


