
|
|
|
|
|
|
|
Want to be a better CNC'er? Get our weekly newsletter plus a package of greatest hits, special tips, and more, all for free. I'm Ready to Be a Better CNC'er, Hook Me Up! |
R8 Tooling Rack
Introduction
Rack makes it easy to organize tooling and other gizmos...

The original sketch of the tooling rack...
Before I made this rack I had tooling laying all around. Yes, I had a much smaller rack in one of my toolboxes, but it was in another room and hence inconvenient. Tooling removed from the mill got laid on the nearest flat surface. Eventually, I decided something had to be done. So, I got the idea of creating a tooling rack that could sit on top of the rolling cabinet I use with the mill. It would take up the rear 10-12" of space, full width, that I was seldom using for anything except collecting chips anyway. Thinking about it, I decided it would be very convenient to label the tool positions so that they would correspond to the tool table in Mach3. Since R8 holders are very repeatable for Z-depth, it would mean I could populate the tool table with offsets, make sure my g-code programs used the right tool numbers, and then just pop tools in with my powered drawbar. You couldn't ask for anything faster in the way of a manual toolchange.
Along the way, I took a playful step or too, such as deciding to put the CNC Cookbook name on either side support.
CNC G-Code Files
These are the files I used for my rack. They were generated by OneCNC, my CAM program for Mach3.
Logos: CNC Cookbook Logos on either support
Support Scallops: Scallops for the nuts that hold the supports.
LHS Support Profile: Cut out the lHS support.
RHS Support Profile: Cut out the RHS support.
Top Holes: Holes for R8 shank tooling.
Big Holes: Holes for the bins.
Photos of the Build
I decided to use some inexpensive "poly" plastic I got in a 1/2" thick sheet 2' x 4' from US Plastics. The stuff looks good and machines very nicely.
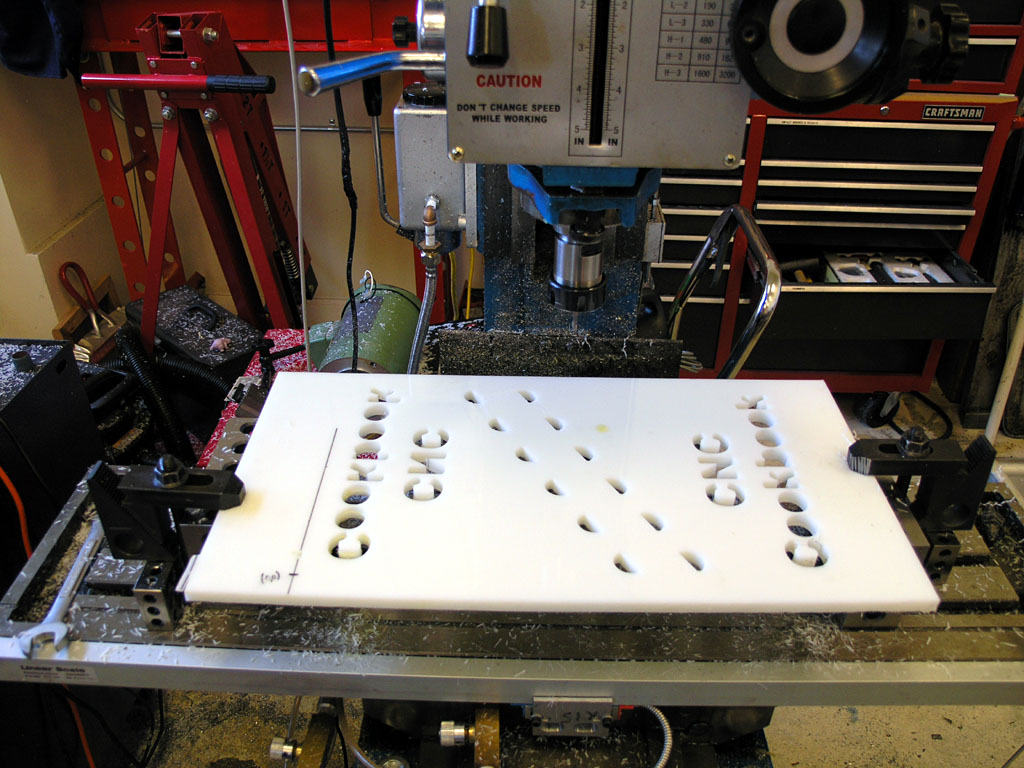
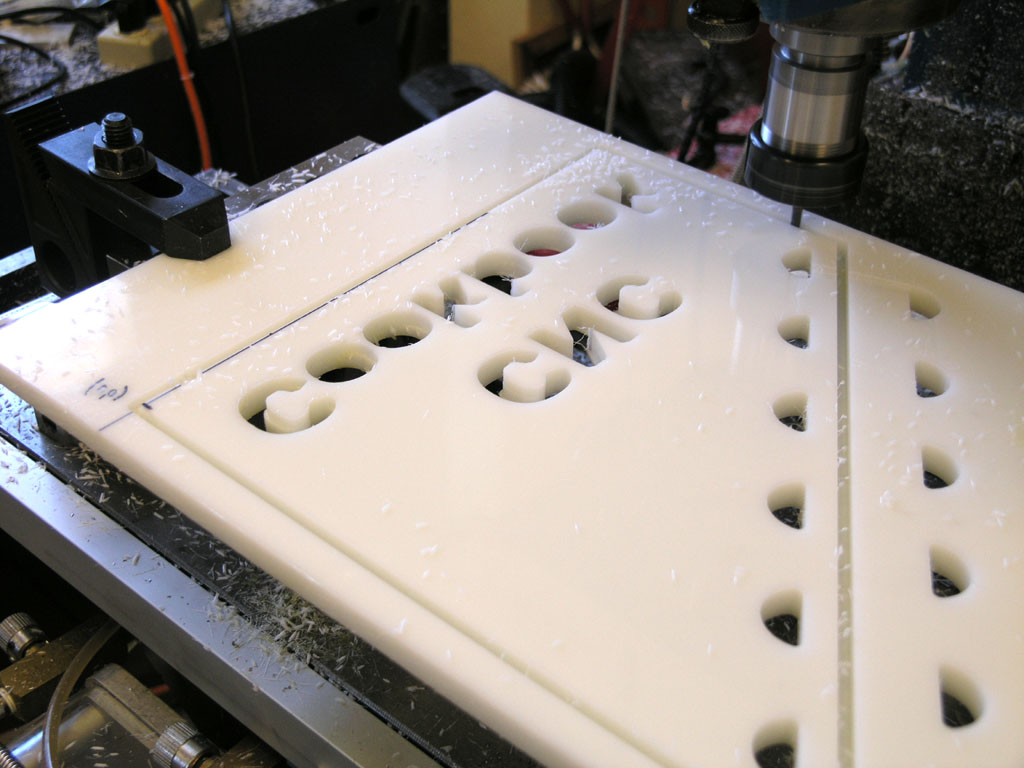
I did the side supports first. I started by cutting the logos, then the scallops. Note the 0,0 origin marked off on the lower left. The plastic sheet is supported on 2-4-6 blocks...
Next I cut out the side supports...

Now I've moved on to the top. Interpolating holes, because what the heck, "A hole is a hole is a hole." Lots of holes, and I don't have enough travel to do the hole thing in one sitting.
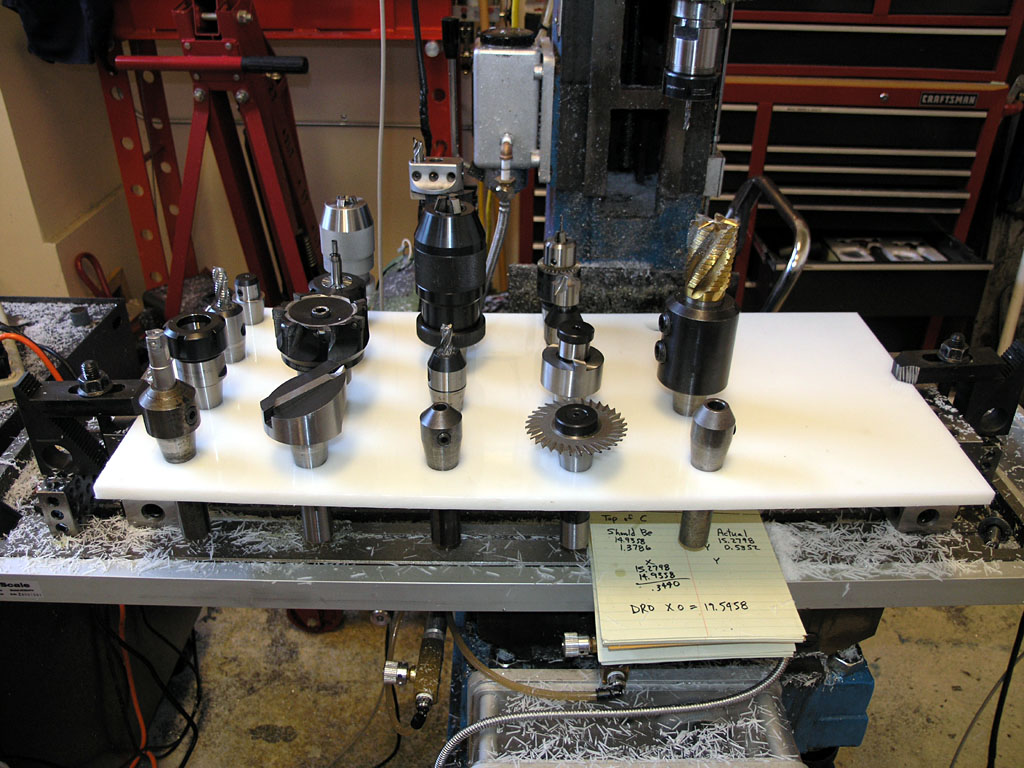
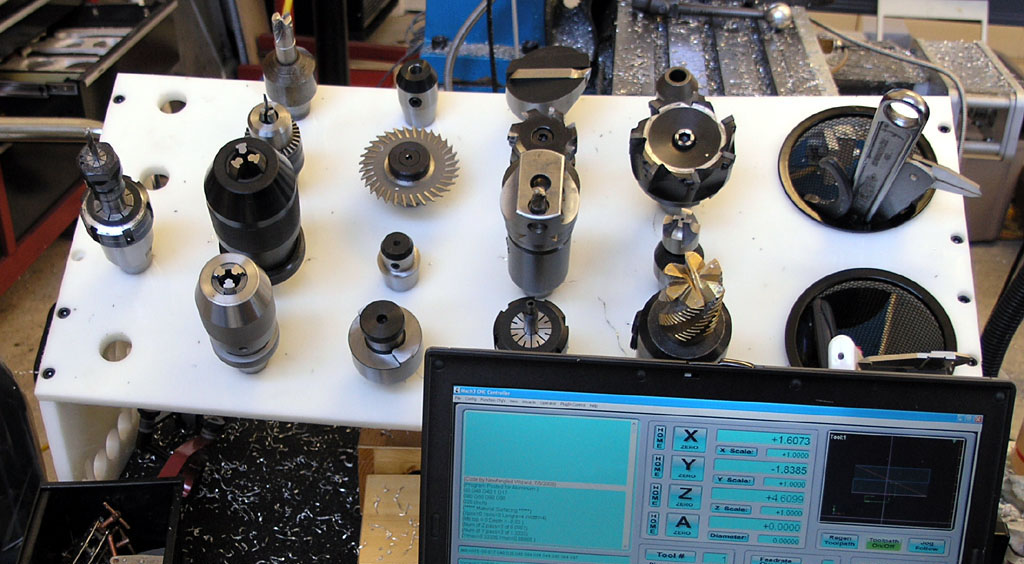
I can't resist sticking some tooling in all those lurvely holes!
|
Do you want to be a better CNC'er? Get Better Tool Life, Surface Finish, and Material Removal Rates.
|
||||||||||||||||||
| ||||||||||||||||||


